

When the Fire Gets Going, Magic Happens in a Cone
There is something almost primally satisfying about gathering around a campfire as the sky turns deep violet and the warmth of the flames hits your face. You have done the hike, set up camp, maybe grilled something spectacular for dinner — and now the night belongs to dessert. Classic s’mores are legendary, no argument there. But if you have ever tried to balance a crumbling graham cracker while a marshmallow drips flaming sugar onto your knuckles, you know the experience is equal parts delicious and chaotic. Campfire Cone S’mores are the answer to every sticky, structurally unsound s’more you have ever wrestled with in the dark. The waffle cone acts as an edible vessel — crispy, lightly sweet, and impossibly good at holding everything together while the heat does its work.
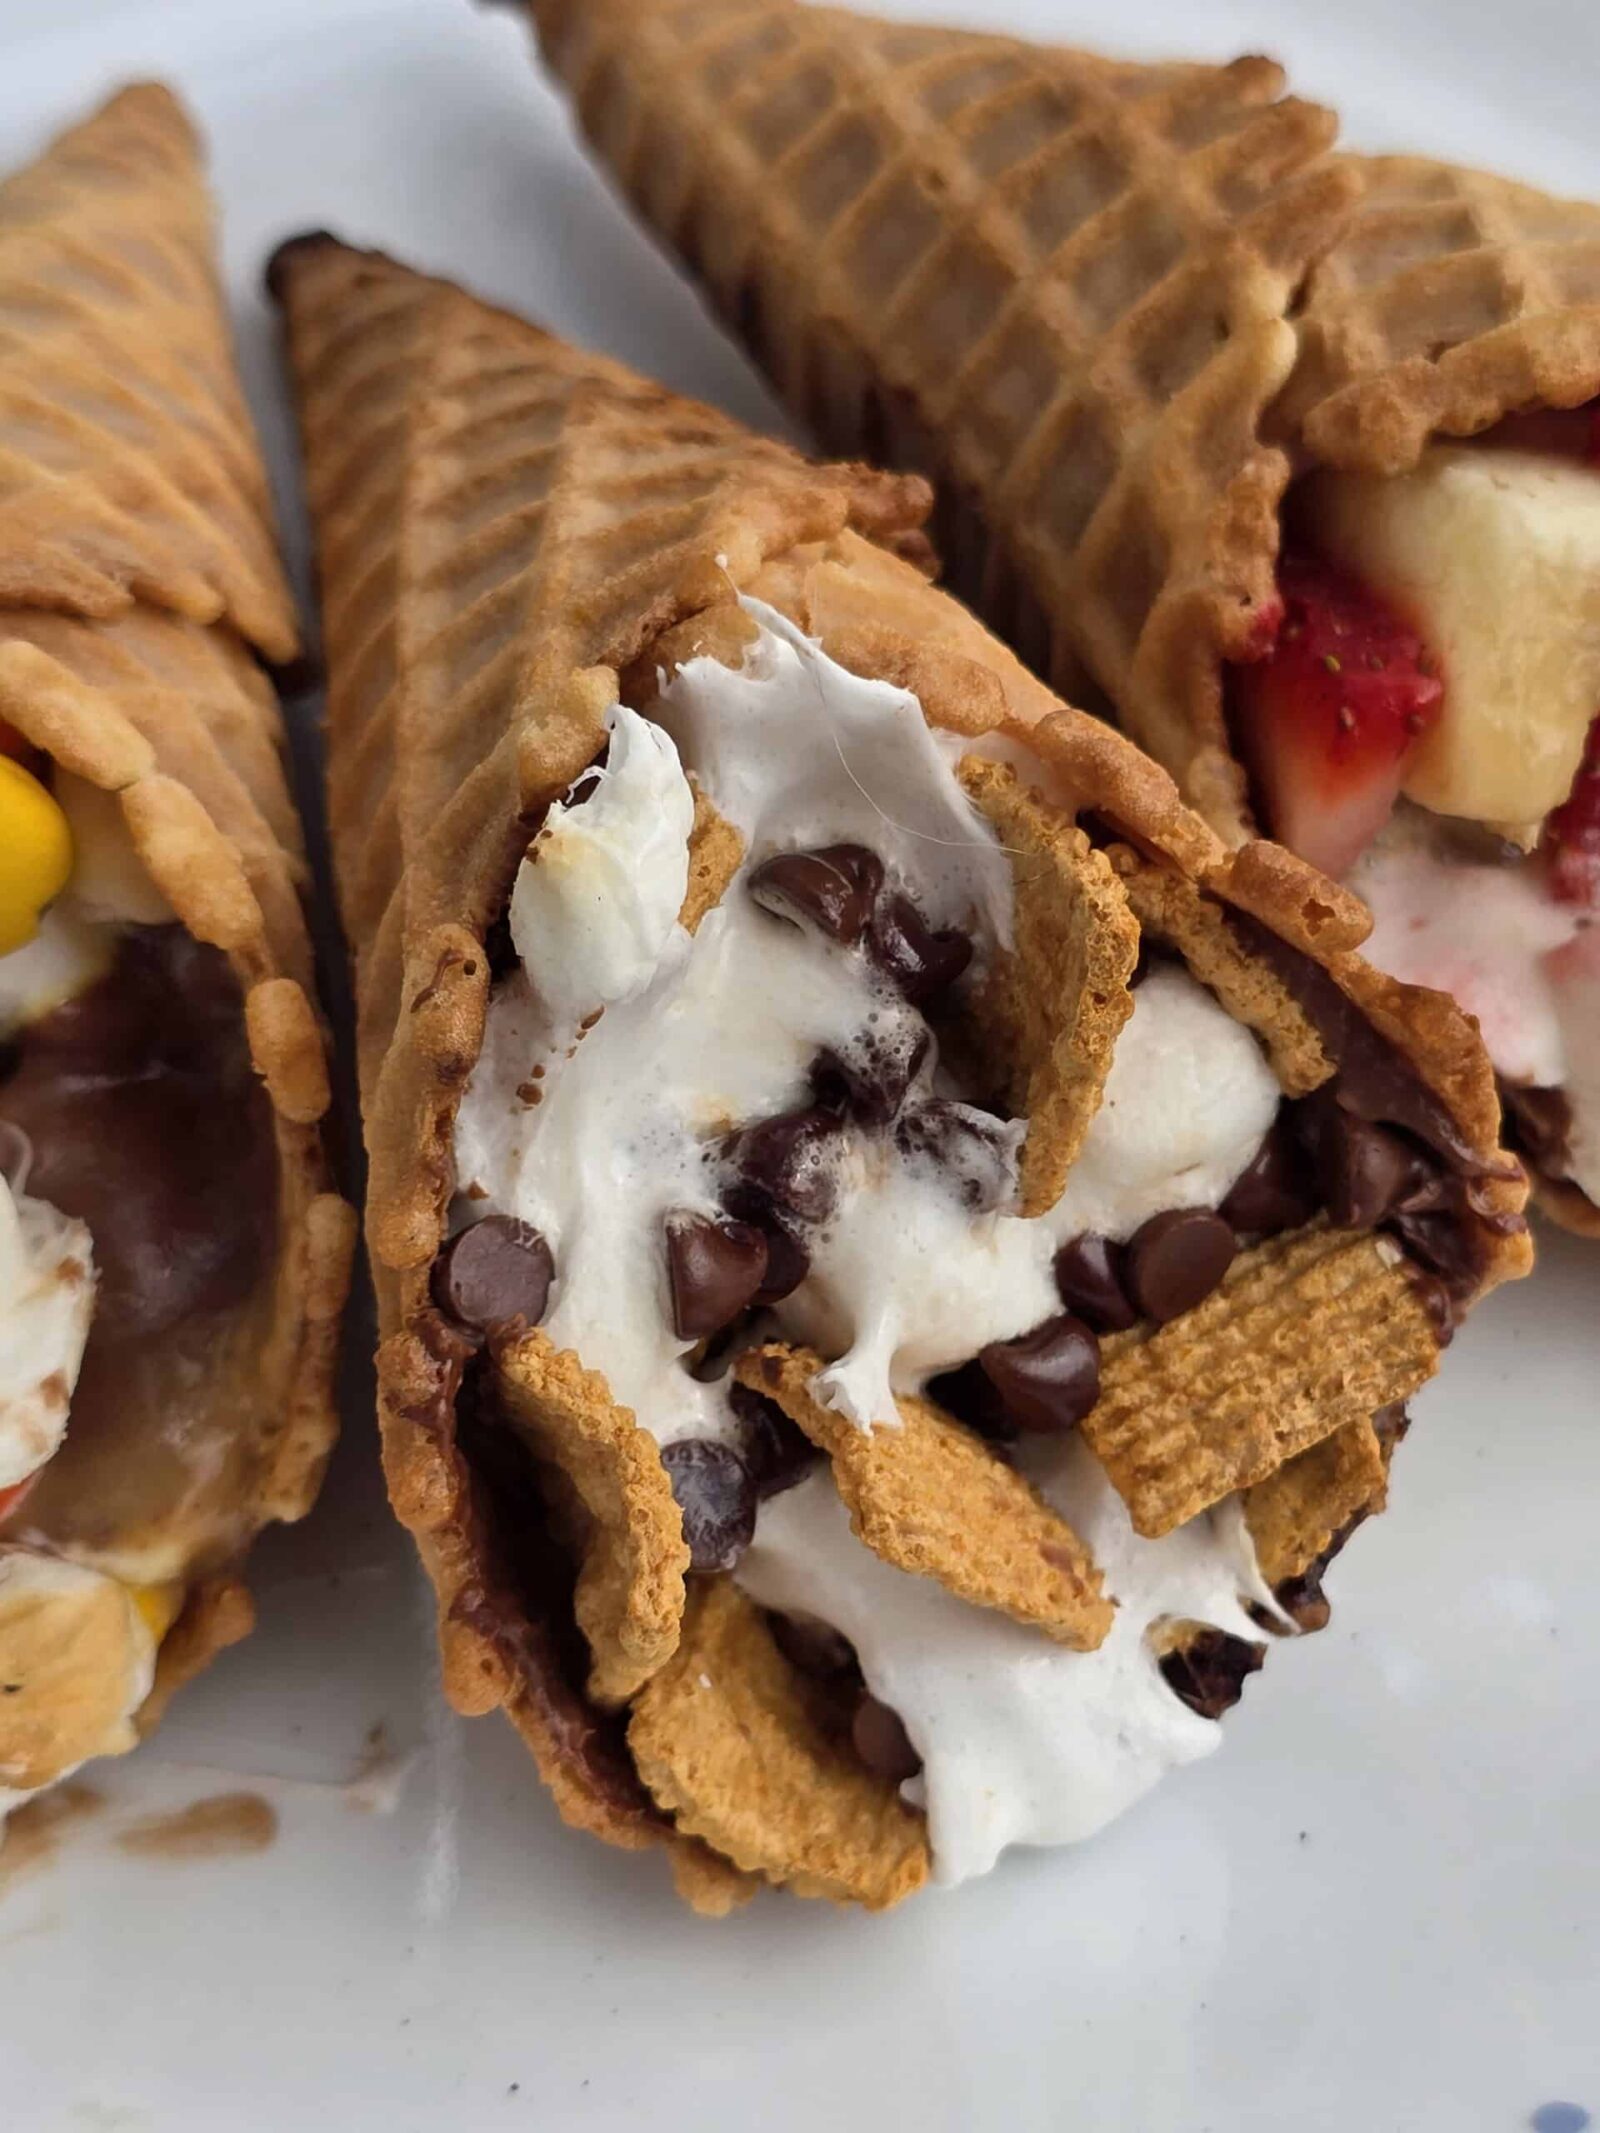
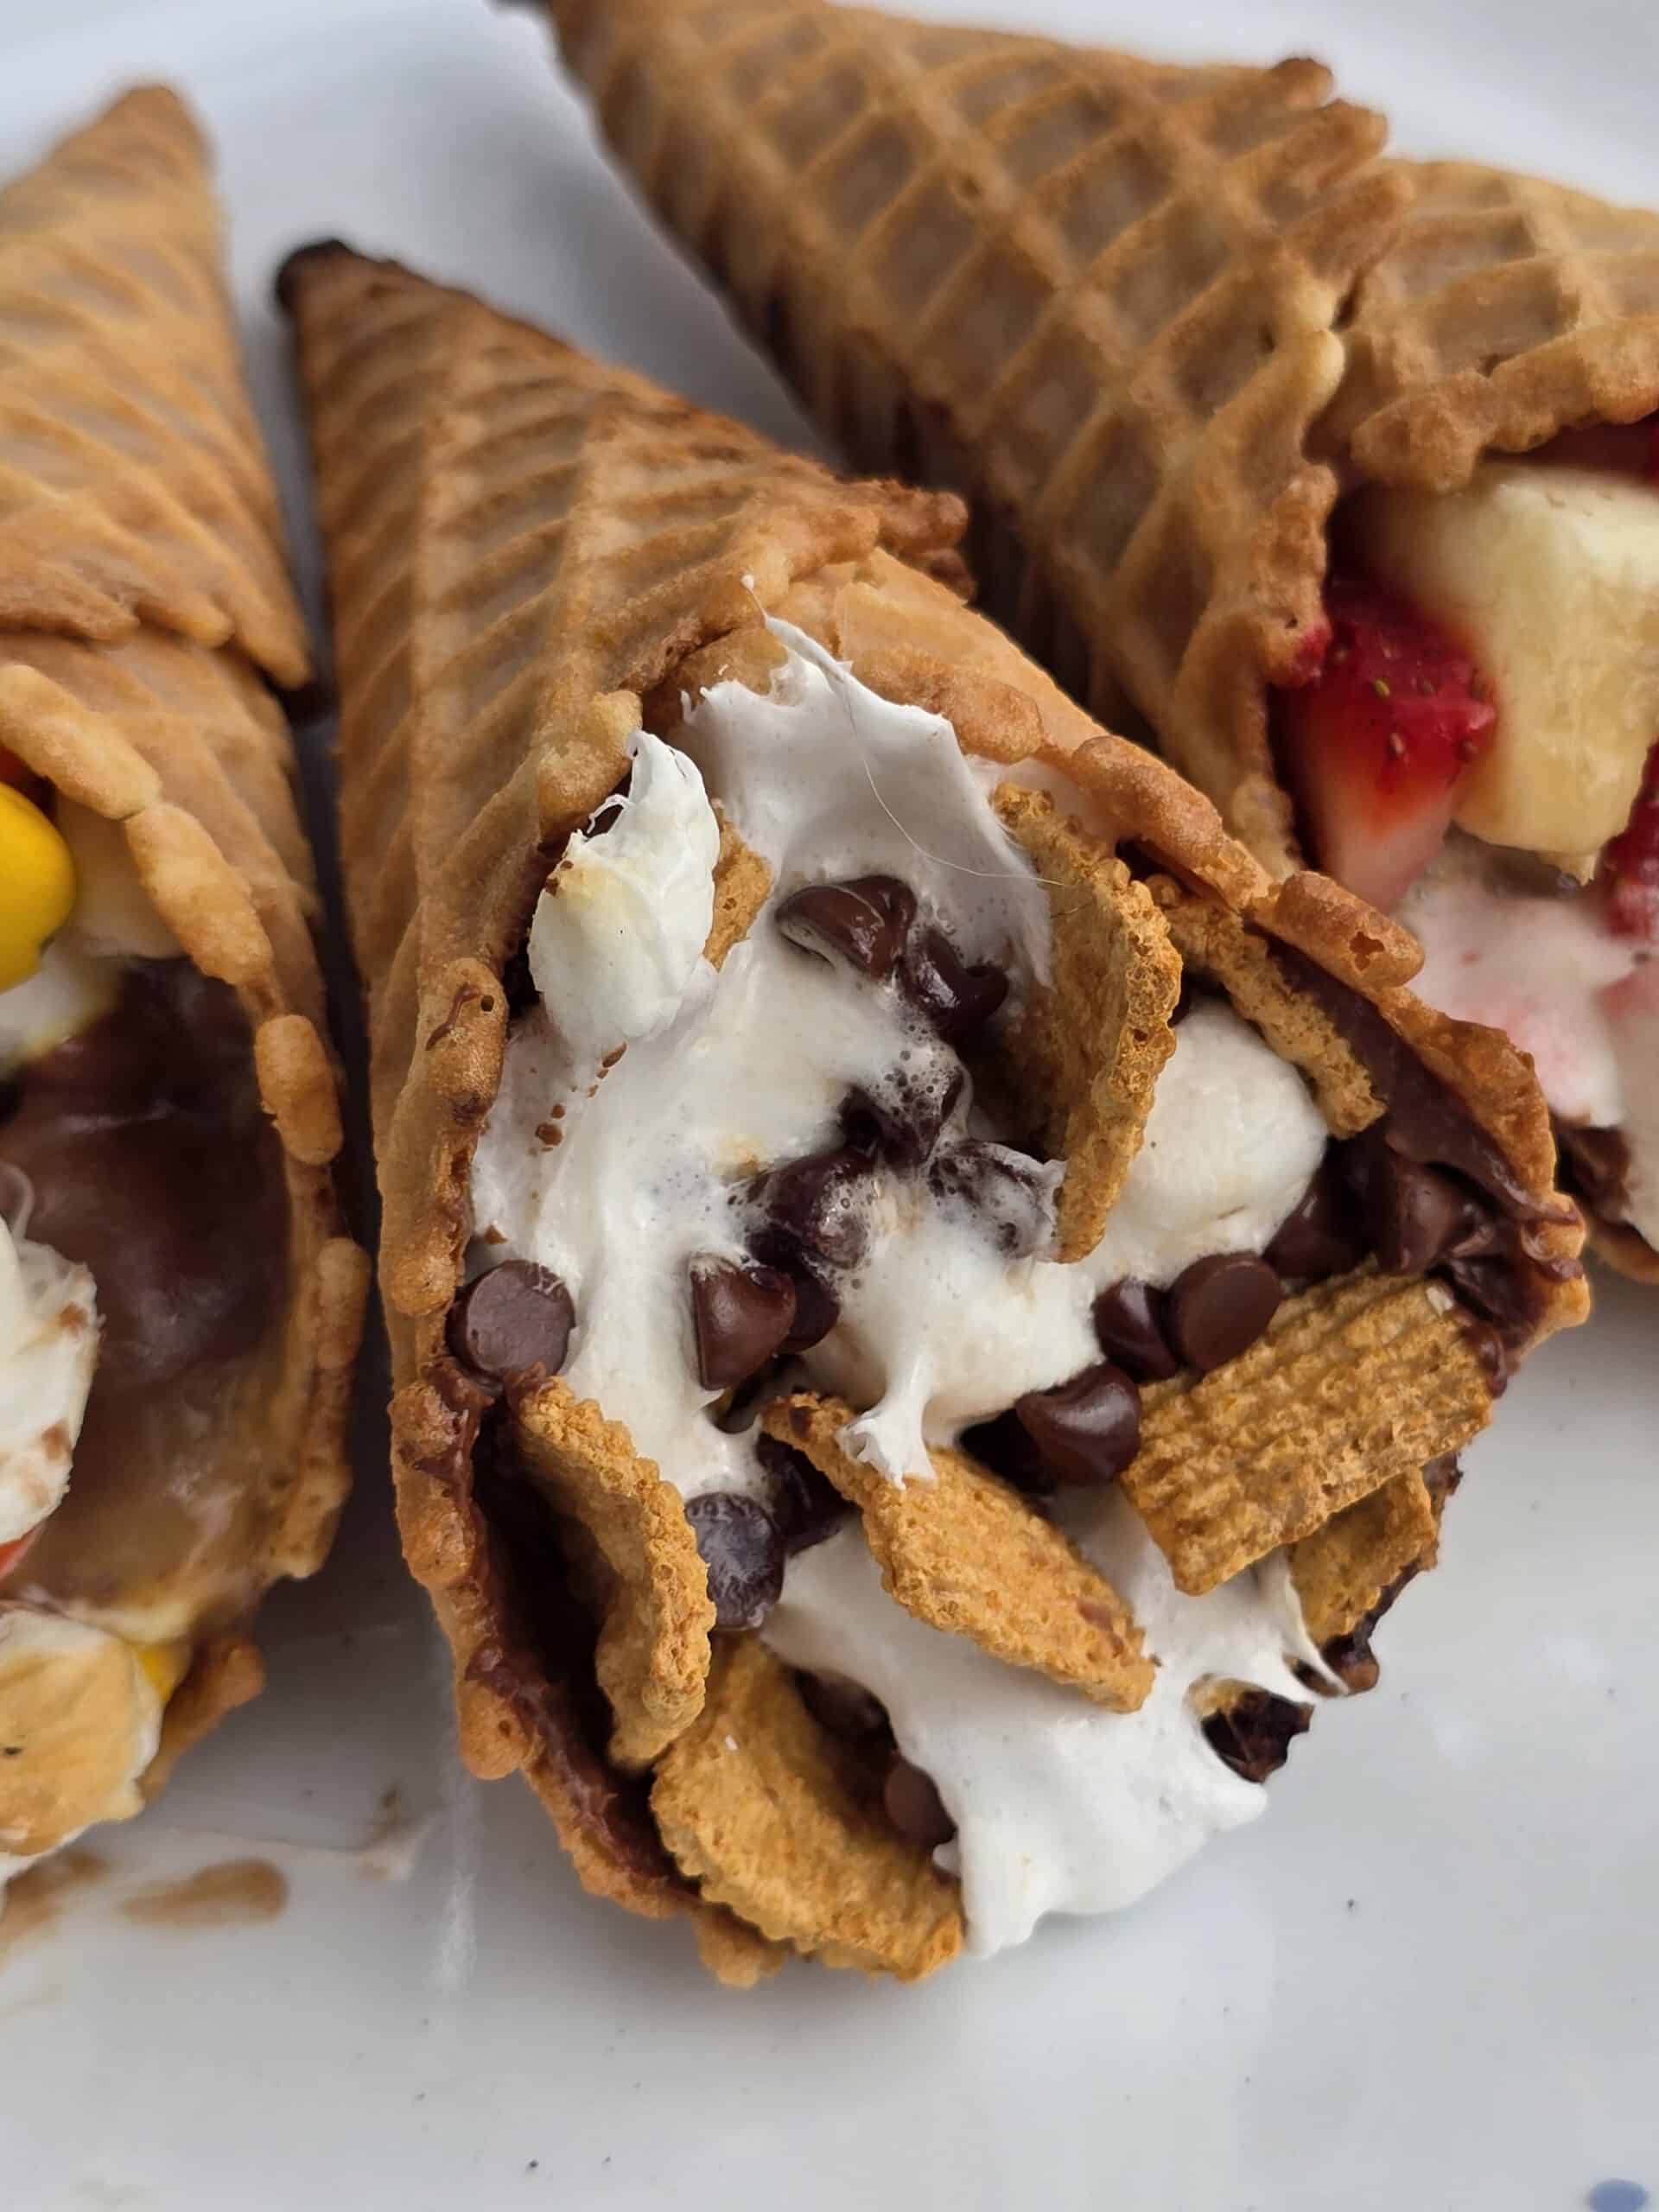
Here is where the magic really lives: once you stuff those cones with layers of rich chocolate, billowy mini marshmallows, and fresh fruit, you wrap them tightly in foil and nestle them right into the glowing coals or set them over the grate. What happens inside that little foil package is nothing short of spectacular. The chocolate melts into a glossy, molten river. The marshmallows puff and toast from the inside out, turning jammy and golden without ever threatening to catch fire. The fruit — whether it is sliced strawberries, banana coins, or fresh raspberries — softens into something almost jammy, releasing sweet juice that mingles with the chocolate until the whole filling becomes one deeply indulgent, almost fondue-like molten core. The cone itself picks up a gentle char at the edges that adds a faint bitterness to balance all that sweetness. It is a restaurant-quality dessert experience delivered entirely by campfire and aluminum foil.
This recipe has become an absolute staple on every camping trip we take, and honestly, it works just as well in a backyard fire pit or even a grill at your next cookout. It is the kind of dessert that gets people talking, that kids will request by name for the rest of the summer, and that adults will quietly sneak seconds of long after the kids are asleep. Whether you are a seasoned campfire cook or just getting started with outdoor cooking, Campfire Cone S’mores deliver maximum reward for minimal effort — and every bite is a warm, gooey, chocolatey reminder of why summer nights around a fire are so worth living.
Why You’ll Love This Recipe
- Zero dishes, maximum flavor: Everything cooks inside foil, which means clean-up is as simple as balling up the wrapper and tossing it in the trash. No pots, no pans, no sticky mess on your grill grates.
- Endlessly customizable: Swap the fruit, change the chocolate, add a drizzle of peanut butter or Nutella — the cone is your canvas and every combination you try will taste like a deliberate, inspired choice.
- Totally hands-off cooking: Once the cones are wrapped and placed over the heat, you sit back and enjoy the fire. No stirring, no flipping, no babysitting. The foil handles everything.
- Made for a crowd: These scale effortlessly. Set up a topping station and let everyone build their own cone — it becomes an interactive dessert experience that is genuinely more fun than any dinner party game.
- That molten, gooey center: The texture contrast between the slightly crunchy cone exterior and the warm, flowing chocolate-marshmallow interior is the kind of thing food dreams are made of. It is rich, indulgent, and completely irresistible.
- Kid-friendly and adult-approved: Little ones love building their own, and adults love eating them. It is one of those rare recipes that truly lands with every single person at the table — or campsite.
Key Ingredients That Make This Recipe Irresistible
The foundation of any great Campfire Cone S’more is the waffle cone itself, and it matters more than you might think. A standard sugar cone is too thin and fragile — it will crack before you finish stuffing it. A proper waffle cone has structural integrity, a satisfying crunch, and a lightly caramelized flavor that deepens beautifully when heat is applied. It is not just a vessel; it is an active flavor contributor. Next comes the chocolate, and this is where you have real creative power. Semi-sweet chocolate chips are the crowd-pleasing classic, melting smoothly and providing just enough bitterness to balance the sweet marshmallow. But do not sleep on milk chocolate chunks chopped from a bar — the larger pieces create pockets of molten chocolate that pool at the bottom of the cone like a warm fondue. For an adult version, a few squares of dark chocolate with 70% cocoa will add genuine depth and complexity, especially when paired with fruit. Speaking of which, the fresh fruit is arguably the most underrated element of this recipe. Sliced strawberries are the classic choice, softening into almost jam-like ribbons of sweetness, but sliced bananas are extraordinary here — they caramelize inside the foil, turning silky and rich in a way that echoes the flavors of bananas Foster. Mini marshmallows are non-negotiable over their full-sized counterparts because they distribute evenly throughout the cone, ensuring every single bite gets that pillowy, toasted sweetness. Finally, a thin smear of peanut butter or Nutella pressed into the bottom of the cone before you layer everything in is a chef-level move that adds a nutty, creamy richness that transforms the whole dessert into something genuinely extraordinary — consider it optional but highly encouraged.
If you love the idea of elevated campfire cooking, you will definitely want to check out our Campfire Breakfast Burritos — Make-Ahead, Foil-Wrapped & Packed with Bold Flavor, which uses the same genius foil-wrapped technique to deliver a bold, satisfying breakfast straight from the fire. The foil-packet method is a campfire game-changer for every meal of the day.
Pro Tips & Variations for Perfect Campfire Cone S’mores

Wrap tight, but not too tight. The foil wrap is your oven — it needs to trap heat efficiently while leaving a tiny pocket of air around the cone opening so steam can circulate and help melt everything evenly. Wrap the cone snugly along the sides but leave the top loosely tented rather than crimped flat against the filling. This prevents the marshmallows from getting smashed and allows them to puff properly.
Use two layers of foil. A single layer of standard aluminum foil can develop hot spots or even small tears near the coals. Double-wrapping takes two seconds and completely eliminates any risk of losing precious melted chocolate to the fire. Serious Eats has an excellent guide on foil packet cooking techniques that is worth reading if you want to master the method across all your campfire meals.
Layer strategically. Put the chocolate at the very bottom of the cone first, then fruit, then marshmallows on top. As heat rises, it hits the marshmallows first, toasting them gently while the chocolate at the base has time to melt slowly and pool into that glorious molten foundation. Reversing the order will give you scorched marshmallows and barely-melted chocolate — and nobody wants that.
Coal placement over open flame. The ideal position is propped upright — cone tip down — in a stable spot near the glowing coals rather than directly in a roaring flame. You want consistent, moderate heat, not aggressive fire. If you are using a grill, medium-indirect heat works perfectly. Set the foil-wrapped cones on the cooler side of the grate and close the lid. Four to six minutes is typically all you need.
Variations to try:
- Tropical twist: Fill with white chocolate chips, pineapple chunks, and toasted coconut flakes. The pineapple caramelizes magnificently — it pairs beautifully with the approach we use in our Grilled Pineapple Chicken Kabobs, where fire and fruit create something genuinely extraordinary.
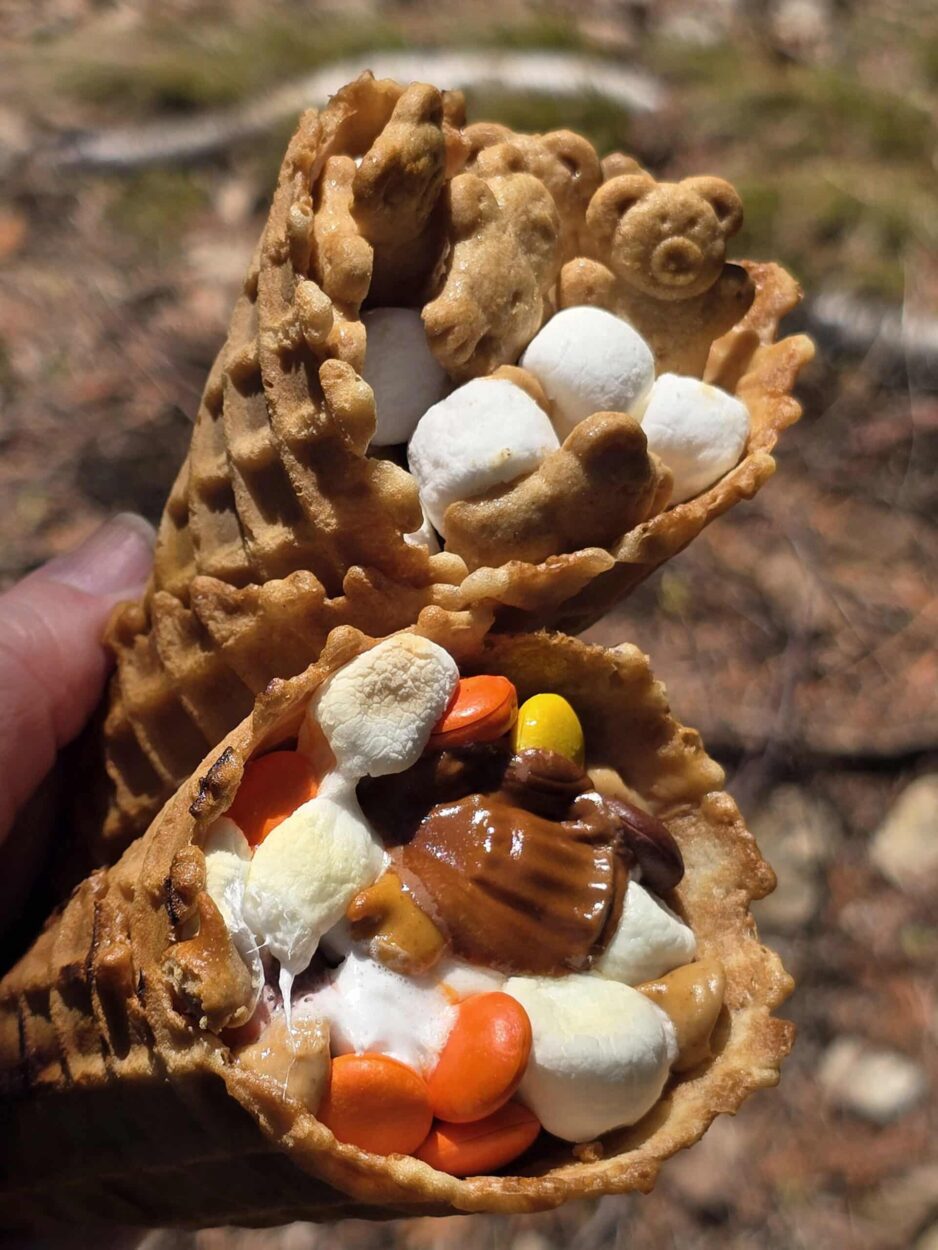
- Peanut butter cup: Smear the inside of the cone with peanut butter, then layer with milk chocolate chips and mini marshmallows. Top with a crushed Reese’s cup. Absolutely devastating in the best possible way.
- Berry Nutella: Spread Nutella inside the cone, stuff with fresh raspberries and blueberries, and fill the gaps with mini marshmallows. The berries burst and bleed into the Nutella creating a filling that is borderline unfair.
- Caramel apple: Thin apple slices, caramel bits, cinnamon, white chocolate chips, and marshmallows. This one is especially spectacular in the fall when the air has a chill and the fire feels like a necessity.
- Mexican chocolate: Add a pinch of cinnamon and a tiny pinch of cayenne to the bottom before layering in dark chocolate and marshmallows. The heat builds slowly and pairs with the sweetness in a way that is genuinely sophisticated.
Make it a station. Set out all your ingredients buffet-style with labeled bowls and let guests build their own cones before handing them off for foil-wrapping. This works brilliantly for parties of ten or more and generates real excitement — people get competitive about their combinations. For more inspiration on crowd-pleasing summer dessert ideas, Food Network’s campfire dessert collection is a great place to browse before your next trip.
Don’t skip the resting minute. After the cones come off the fire, resist the urge to unwrap immediately. Let them rest — still in their foil — for sixty full seconds. This brief pause allows the molten filling to settle from scalding-hot to perfectly warm, and it gives the marshmallows a moment to set into that luscious, slightly chewy texture rather than being pure liquid. Trust the rest. It matters.
Nutritional Highlights
Each Campfire Cone S’more delivers approximately 380 to 420 calories depending on your specific fillings and chocolate choices, making it a genuinely indulgent treat that earns its place as a special-occasion dessert rather than an everyday snack. The waffle cone contributes a modest amount of carbohydrates and a light, crispy texture without adding significant fat. Fresh fruit — particularly strawberries and raspberries — brings natural antioxidants, vitamin C, and a small amount of fiber to the filling, which partially offsets the richness of the chocolate and marshmallow. Dark chocolate, if you choose to use it, contains flavonoids linked to heart health and adds iron and magnesium alongside its deep, complex flavor. Compared to a traditional s’more assembled with multiple graham crackers and full-sized marshmallows, the cone format actually provides better portion control since the cone’s capacity is naturally finite — a genuine advantage for those who know they would otherwise reach for a third s’more. If you are in the mood for another beautifully easy summer treat with a lighter profile, our Frozen Yogurt Covered Blueberries Snack is a wonderful counterbalance — bright, refreshing, and equally satisfying when the sweet craving strikes.
Frequently Asked Questions
Can I make Campfire Cone S’mores ahead of time?
Absolutely, and doing so is actually one of the smartest moves you can make for a camping trip or backyard party. You can stuff and wrap the cones in foil up to four hours before cooking — just keep them stored upright in a zip-top bag or small cooler bag to prevent jostling. Do not refrigerate them, as the cold will cause condensation inside the foil that can make the cone soggy before it even hits the heat. If you are heading to a campsite for the weekend, prep the cones at home, wrap them tightly, pack them in your cooler nested inside a rigid container so they don’t get crushed, and they will be ready to go directly from the cooler to the fire at dessert time. The only thing you should not add ahead of time is any very wet fruit like watermelon — stick to strawberries, bananas, raspberries, or blueberries which hold up well without releasing excess liquid during the wait.
What if I don’t have a campfire? Can I make these at home?
Yes — one hundred percent. Campfire Cone S’mores are just as spectacular made in a conventional oven or on a backyard grill. For the oven, preheat to 400°F, place the foil-wrapped cones directly on the oven rack propped up using a muffin tin to keep them upright, and bake for eight to ten minutes until the chocolate and marshmallows are fully melted. On a gas or charcoal grill, use medium-indirect heat, close the lid, and cook for five to seven minutes. You can also use a campfire-style fire pit in your backyard with a grill grate over the top — this gives you the authentic smoky edge and the charming aesthetic of the outdoor experience without needing to leave your yard. The foil-packet method is remarkably forgiving and translates seamlessly between heat sources, which is a big part of why this recipe works so reliably.
How do I keep the waffle cone from getting completely soggy?
This is the question that separates a good Campfire Cone S’more from a truly great one. The key is threefold. First, use sugar cones or true waffle cones — avoid the thin, pre-packaged sugar cones that are brittle and prone to sogginess. Thicker waffle cones from an ice cream shop or quality grocery brand hold up significantly better to heat and moisture. Second, layer a small piece of chocolate or a thin smear of peanut butter at the very bottom of the cone before adding any fruit — this creates a barrier that slows moisture migration into the cone walls. Third, respect the timing. Do not cook longer than eight minutes total — the longer the cones sit over heat, the more steam has time to soften the walls. You want the cone to be warm and very slightly softened at the innermost layer while remaining structurally intact and lightly crisp on the outside. Pull them off the heat the moment you can feel through the foil that everything inside has melted, and let them rest for sixty seconds before unwrapping and serving immediately.
Share the S’more Love
If Campfire Cone S’mores make an appearance at your next fire, we genuinely want to hear about it. This recipe is the kind of thing that starts traditions — the dessert that becomes synonymous with every summer camping trip, every backyard fire night, every spontaneous gathering that needed just one more reason to feel special. Snap a photo of your loaded cone before you wrap it in foil, and definitely get the beauty shot of the molten reveal when you unwrap it — that is your content, right there. Share it on Instagram and Pinterest and tag us so we can see your combinations and cheer you on. Save this recipe now so you have it ready the moment someone suggests a bonfire, because the best campfire dessert should never be more than one tap away. And if someone at your fire asks where you found this recipe, send them here — there are plenty more reasons to love cooking over a flame waiting for them.
Find the complete recipe card below ↓

Campfire Cone S’mores
Equipment
- Aluminum foil
- Tongs
- Heat-proof gloves
- Muffin tin (for oven method)
- Grill or campfire grate
Ingredients
- 4 waffle cones thick-style, not thin sugar cones
- 1 cup semi-sweet chocolate chips or chopped dark/milk chocolate bar
- 1.5 cups mini marshmallows
- 1 cup fresh strawberries hulled and thinly sliced
- 1 medium banana peeled and cut into thin coins
- 4 tsp peanut butter or Nutella optional but highly recommended, 1 tsp per cone
- 8 sheets aluminum foil standard width, two sheets per cone for double-wrapping
Instructions
- Prepare your campfire, grill, or oven. For a campfire or fire pit, let the fire burn down to glowing coals with moderate, steady heat rather than active tall flames. For a grill, preheat to medium heat (about 375–400°F). For an oven, preheat to 400°F.
- If using peanut butter or Nutella, spoon about 1 teaspoon into the bottom of each waffle cone and use the back of the spoon or your finger to spread it along the interior walls of the lower third of the cone.
- Layer the fillings into each cone starting with chocolate chips (about 3–4 tablespoons per cone) as the bottom layer, then a few pieces of strawberry and banana, then a generous handful of mini marshmallows. Continue layering until the cone is full, pressing gently so the filling is compact but not crushed. The marshmallows should reach or slightly exceed the top of the cone.
- Tear two sheets of aluminum foil large enough to fully wrap each cone with room to tent the top. Place a filled cone in the center of the first foil sheet. Wrap snugly around the cone's sides and bottom, leaving the top loosely tented — do not press the foil flat against the marshmallows. Wrap the second sheet of foil around the first for double-layer protection.
- For campfire: prop the wrapped cones upright with the tip pointing down near glowing coals or set them on a grill grate over the fire. Cook for 5–8 minutes until you can feel through the foil that the filling has softened and melted. For grill: place on the cool side of the grate, close the lid, and cook 5–7 minutes. For oven: place upright in a muffin tin and bake 8–10 minutes.
- Carefully remove the cones from the heat using tongs or a heat-proof glove — the foil will be very hot. Allow to rest, still wrapped, for 60 seconds. This lets the filling settle to the perfect warm, gooey (not scalding) temperature.
- Unwrap the foil carefully, peeling it back from the top. The filling should be fully melted, the marshmallows golden and puffed, and the cone slightly softened but still holding its structure. Serve immediately and enjoy over the foil as a natural drip catcher.