

The Dessert That Makes Everyone Go Back for Seconds
There are desserts you make because they look impressive, and then there are desserts you make because people will literally hover around the dish before you’ve even set it on the table. Banana pudding is the second kind. It’s the dessert that disappears at every potluck, every family reunion, every Sunday dinner — and somehow, no matter how much you make, there is never enough. This isn’t a trend. This is a deeply rooted Southern tradition that has been earning its spot on the table for generations, and once you taste a properly made version, you’ll understand why it’s never going anywhere.
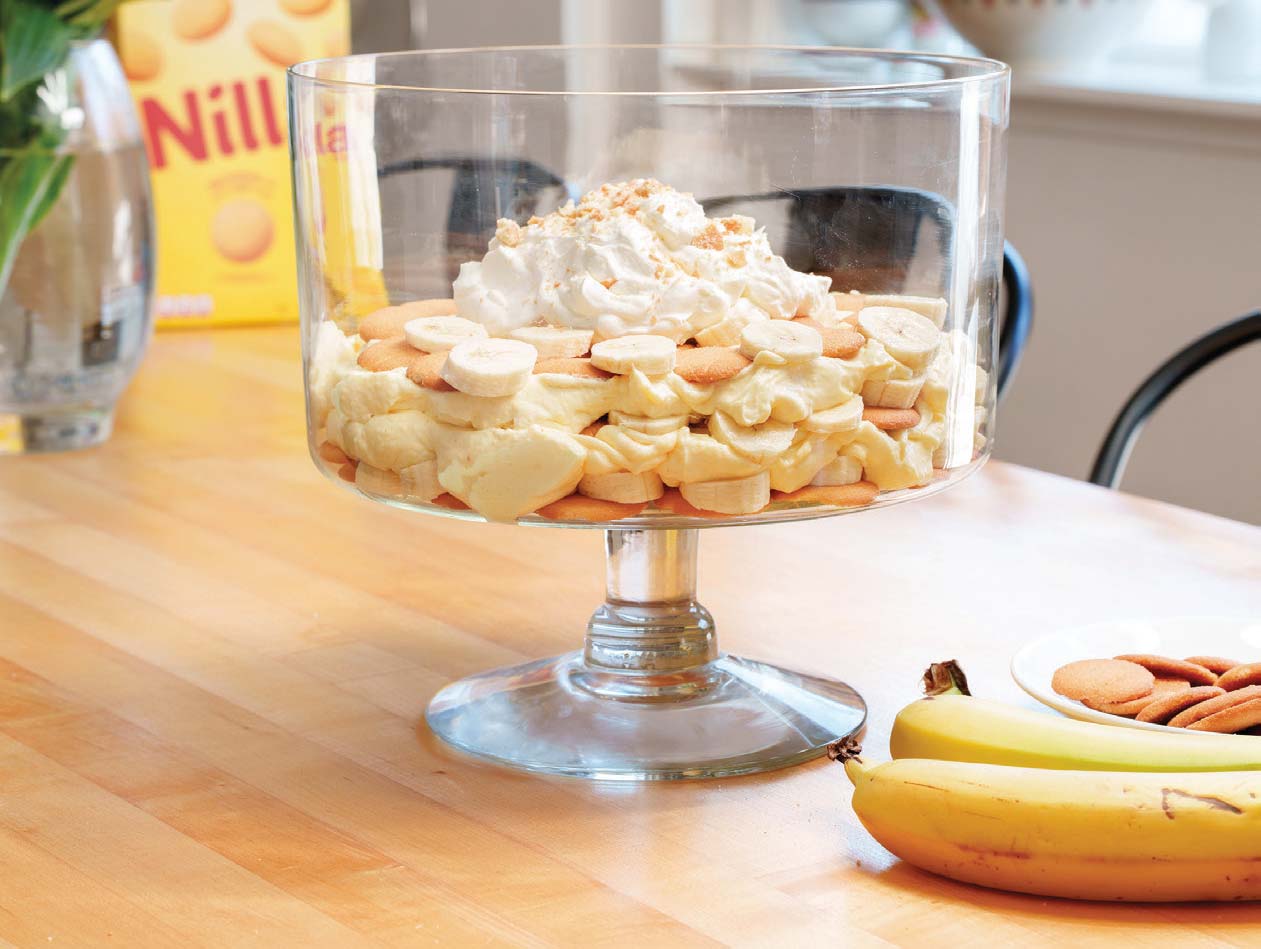
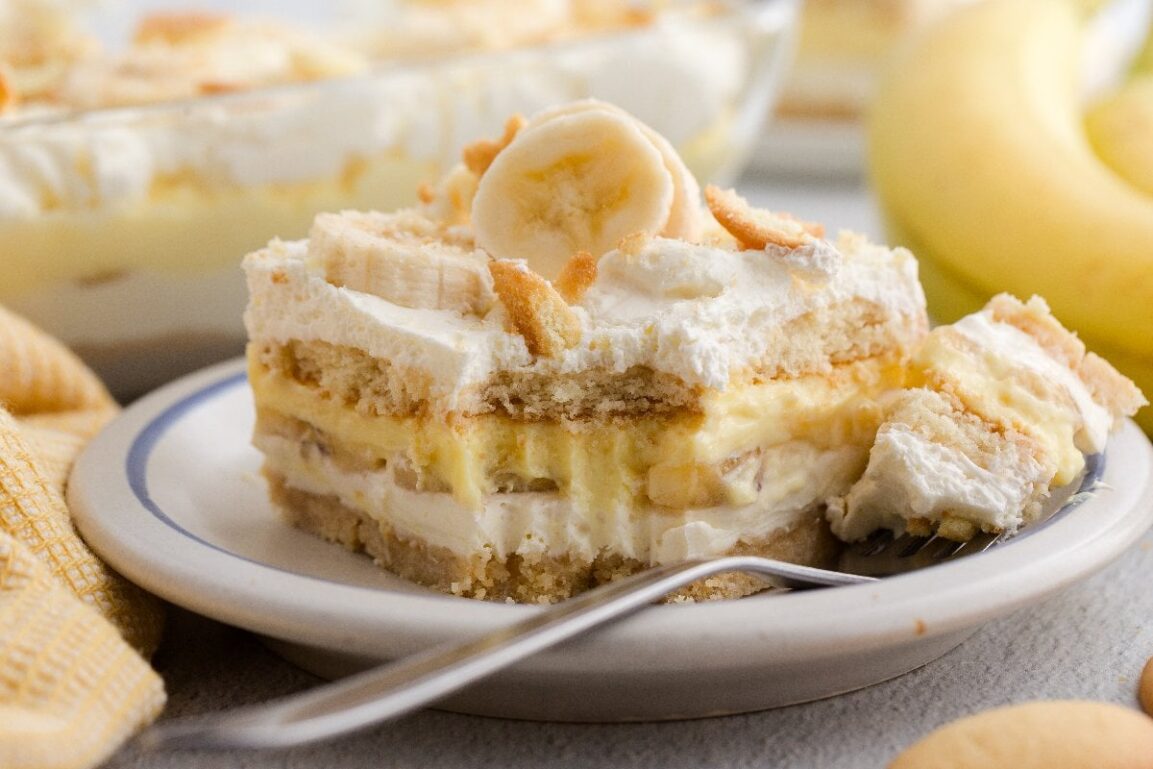
What makes banana pudding so completely irresistible is the layering — the way each component builds on the last to create something that is so much greater than the sum of its parts. You’ve got buttery vanilla wafers that start out crisp and gradually surrender to the creamy pudding, turning into soft, almost cake-like layers that absorb every bit of that rich vanilla custard. Then there are the bananas — ripe, sweet, and borderline tropical — tucked between each layer like little bursts of fruit flavor. And blanketing the whole thing is a cloud of whipped topping or freshly whipped cream that makes every spoonful feel indulgent, cool, and impossibly satisfying. It hits every single texture note: creamy, soft, silky, and just a little bit pillowy.
This recipe is built around the version that has stood the test of time in Southern kitchens — the one made with a luscious homemade vanilla pudding (or the beloved shortcut that still tastes incredible), Nilla wafers stacked in generous layers, and enough bananas to make every bite count. Whether you’re making it for a crowd in a big trifle dish or assembling individual cups for a dinner party, this banana pudding delivers that deep, comforting, craveable flavor that keeps people talking about it long after the dish is empty. Let’s get into it.
Why You’ll Love This Recipe
- Deeply satisfying layers: Every single bite has the perfect ratio of creamy pudding, soft wafer, and fresh banana — nothing is an afterthought here.
- No complicated technique: This is a dessert that rewards you generously without demanding pastry-school skills. If you can stir and layer, you can nail this.
- Make-ahead magic: Banana pudding actually gets better as it sits. The flavors meld, the wafers soften, and the whole thing transforms into something even more luxurious overnight.
- Crowd-scale easily: Double it for a party, make it in individual cups for a dinner party, or keep it intimate in a single dish for the family. It scales beautifully every time.
- Comfort food at its peak: This is the kind of dessert that feels like a hug — warm nostalgia, cool creaminess, and bold banana flavor all in one.
- Endlessly customizable: From bourbon-spiked pudding to toasted meringue toppings, this classic invites you to make it your own without losing what makes it special.
Key Ingredients That Make This Banana Pudding Shine
The magic of banana pudding lives in its simplicity, but that doesn’t mean every ingredient isn’t doing serious, deliberate work. Ripe bananas are the soul of this dish — and we mean properly ripe, with yellow skin that’s just beginning to show a few brown spots. At that stage, the bananas are sweet, fragrant, and tender enough to melt into the surrounding layers. Under-ripe bananas taste starchy and flat here; don’t rush them. Vanilla wafers — the classic Nilla wafer — are the structural backbone and textural backbone of the dessert. They start out with that familiar buttery snap, but after a few hours in the fridge, they transform into something almost custardy and cake-like, completely saturated with pudding and banana flavor. That transformation is the whole point, and it’s what makes banana pudding so dramatically better the next day.
The vanilla pudding base is where you decide how far you want to take things. A good instant pudding made with whole milk is genuinely delicious and earns no apology — it’s rich, smooth, and perfectly vanilla-forward. But if you have the time and inclination, a homemade custard made with egg yolks, sugar, cornstarch, and real vanilla bean paste takes this dessert into restaurant-territory immediately. That homemade pudding clings to every wafer and banana slice with a silky, almost hollandaise-like richness that you simply can’t replicate from a box. Heavy cream — whipped to soft, billowy peaks — is the finishing layer that ties everything together. It’s lighter than the pudding and provides a cool, airy contrast that keeps the whole dessert from feeling too dense. And finally, cream cheese, which you’ll see in some of the most celebrated Southern versions of this recipe, adds a subtle tang and body to the pudding mixture that elevates it beyond what vanilla flavor alone can achieve. It’s the secret that makes people ask, “What is in this?” in the best possible way.
Pro Tips & Variations
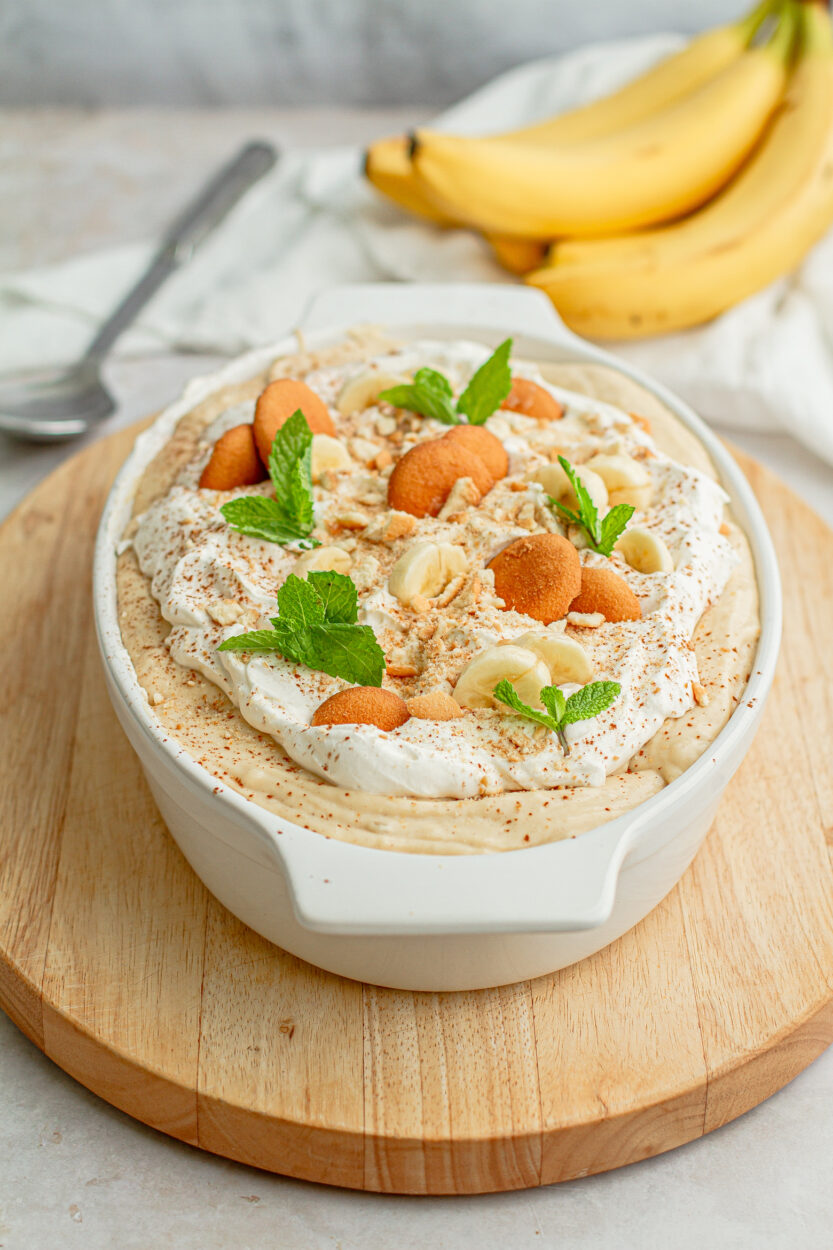
Getting the most out of your banana pudding is all about understanding the nuances — the details that separate a good version from a truly unforgettable one. Here’s everything you need to know to make this as bold and crave-worthy as possible:
- Choose your bananas wisely: Ripe but not overripe is the sweet spot. Brown, mushy bananas will discolor quickly and turn the layers murky. Look for bananas with yellow skin and just a few small brown spots for maximum sweetness and firmness.
- Layer generously and deliberately: Don’t be shy with any of the components. A thin scraping of pudding between sparse wafers produces a disappointing result. Each layer should be full and lush — you want to see all three distinct elements when you scoop.
- Let it chill overnight: This is non-negotiable for the best texture. Four hours is the minimum; eight to twelve hours is ideal. The wafers need time to absorb the pudding and soften into those dreamy, almost cake-like layers that make banana pudding so distinctive. According to Serious Eats, allowing the assembled pudding to rest overnight dramatically improves both the texture and the depth of flavor throughout the dessert.
- Add cream cheese to the pudding: Beat 8 ounces of softened cream cheese into your pudding mixture before layering. It thickens the pudding, adds a subtle tang, and gives the whole dessert a cheesecake-adjacent richness that is absolutely addictive. This is the version served at many beloved Southern restaurants and it is worth every extra step.
- The Bourbon Variation: Add 2 tablespoons of good bourbon to your pudding mixture. It deepens the vanilla notes and adds a warm, slightly smoky undertone that pairs beautifully with the ripe banana. Adults-only, and completely worth it.
- Toasted Meringue Topping: Skip the whipped cream and go full Southern elegance — top your assembled pudding with a Swiss meringue and torch it to golden perfection. It looks dramatic, tastes incredible, and holds up remarkably well. Food Network has a beautiful meringue-topped version that’s worth referencing if you want to go that route.
- Individual serving cups: Layer your banana pudding in mason jars, juice glasses, or clear plastic cups for parties and picnics. Single-serve portions are charming, portion-controlled, and eliminate the serving chaos of a communal dish. They also make the layers visible from the side, which is genuinely stunning.
- Cookie swap: While Nilla wafers are the soul of the classic, you can swap in Chessmen butter cookies for an even richer base, or use thin ginger snaps for a spiced variation that works beautifully in the fall. Brownie bits layered in between transform this into something closer to a banana split dessert — bold, indulgent, and completely over the top in the best way.
- Prevent banana browning: Toss your sliced bananas lightly with a teaspoon of lemon juice before layering. The citric acid slows oxidation and keeps those banana slices looking bright and appetizing even after overnight chilling.
If you love building flavor-forward, no-fuss desserts like this one, you’ll want to check out our No Bake Cheesecake — it has that same cool, creamy, make-ahead energy that makes banana pudding so universally beloved. And for another Southern-inspired, fruit-forward classic that requires zero oven time, our Key Lime Pie is equally stunning and just as crowd-pleasing at any summer table.
Nutritional Highlights
A generous serving of banana pudding clocks in around 420 calories, which feels entirely reasonable for a dessert this satisfying and indulgent. The bananas contribute natural potassium and a dose of dietary fiber that you won’t find in most desserts, making this one of the more nutritionally interesting options in the comfort food category. The pudding base — especially when made with whole milk — provides a good hit of calcium and protein, while the cream layer adds richness from healthy fats. If you’re looking to lighten things up slightly, swapping whole milk for 2% and using a reduced-fat whipped topping in place of heavy cream can shave off meaningful calories without sacrificing that core creamy texture that makes banana pudding so craveable. The naturally sweet banana content also means you can dial back added sugar slightly in the pudding without the dish feeling under-sweetened — the fruit carries a lot of the sweetness load on its own. For a frozen dessert alternative that shares that same fruit-forward refreshment, our Mixed Berry Popsicles are a lower-calorie option worth bookmarking, or consider our Watermelon Sorbet for a no-churn frozen treat that’s light, bright, and just as satisfying on a warm day.
Frequently Asked Questions
Can I make banana pudding ahead of time?
Absolutely — and honestly, you should. Banana pudding is one of those rare desserts that genuinely improves with time. The vanilla wafers need several hours in contact with the pudding to absorb moisture and soften into that signature cake-like texture that defines the dish. We recommend assembling the full dessert at least 4 hours before serving, and overnight is even better. The flavors meld together beautifully, the layers become more cohesive, and the whole dish takes on a more unified, deeply flavored character. If you’re concerned about banana browning, toss your sliced bananas with a small amount of lemon juice before layering — this keeps them looking fresh and appetizing even after 12 hours in the refrigerator. The whipped cream topping, however, is best added within an hour or two of serving if possible, as it can begin to weep or deflate after extended refrigeration. If you need to fully assemble it the night before, a stabilized whipped cream (made with a small amount of cream cheese or instant pudding powder beaten in) holds up much better over time.
What’s the difference between homemade pudding and instant pudding in this recipe?
Both work, and neither should make you feel like you’re cutting corners — but they do produce noticeably different results. Instant pudding (made with whole milk rather than water for maximum richness) is smooth, quick, and reliably delicious. It sets up firmer, which can actually help the layers hold their structure better in a trifle-style assembly. Homemade vanilla custard, made with egg yolks, sugar, cornstarch, butter, and real vanilla, has a silkier, richer, more complex flavor — it clings to the wafers and bananas with a satiny quality that instant pudding can’t quite replicate. The homemade version is also slightly more translucent and glossy, which looks stunning when you can see the layers through a glass dish. If you’re making this for a special occasion or want to really impress, go homemade. For a weeknight crowd-pleaser or potluck contribution, instant pudding with a block of cream cheese beaten in gets you 90% of the way there with a fraction of the effort.
How long does banana pudding last in the refrigerator, and can I freeze it?
Banana pudding keeps well in the refrigerator for up to 3 days when stored tightly covered with plastic wrap pressed directly onto the surface of the pudding (to prevent a skin from forming). After the 3-day mark, the bananas begin to over-soften and brown even with lemon juice treatment, and the wafers can become too mushy to provide any textural contrast. For best results, consume within the first 48 hours — that’s the window where every layer is at peak texture and flavor. As for freezing: we don’t recommend it. The pudding changes texture dramatically when frozen and thawed, becoming grainy and separated. The bananas turn mushy and dark, and the wafers lose all of their structure entirely. Banana pudding is a refrigerator dessert through and through — plan to make it fresh within a day or two of serving for the best possible experience.
Make It, Share It, Save It
This banana pudding is the kind of recipe that earns you a reputation. It’s the dish people request by name, the one that gets passed down, the one that makes everyone at the table go quiet for a moment right after the first bite. Once you nail this layered vanilla wafer Southern classic, it becomes part of your permanent dessert rotation — and rightfully so. Whether you serve it in a grand trifle bowl, spoon it into individual mason jars, or add your own signature twist with bourbon or toasted meringue, the soul of this recipe stays the same: deeply creamy, warmly sweet, and utterly irresistible.
If you make this banana pudding, we’d love to see it. Share your creation on Instagram and tag us — especially if you try one of the variations. And if you’ve been looking to build out your summer dessert lineup, don’t miss our Homemade Vanilla Ice Cream, which pairs beautifully alongside a warm serving of banana pudding for a truly indulgent dessert experience. Save this recipe, pin it, share it with the person who always asks you to bring dessert — and then get ready to take all the credit you deserve.
Find the complete recipe card below ↓
Banana Pudding
Equipment
- Large trifle bowl or 9x13-inch baking dish
- Hand mixer or stand mixer
- Large mixing bowls
- Rubber spatula
- Whisk
- Measuring cups and spoons
Ingredients
Vanilla Pudding Base
- 2 packages (3.4 oz each) instant vanilla pudding mix or homemade custard — see notes
- 3 cups whole milk cold
- 8 oz cream cheese softened to room temperature
- 1 can (14 oz) sweetened condensed milk
- 1 teaspoon pure vanilla extract
Whipped Cream Layer
- 2 cups heavy whipping cream very cold
- 3 tablespoons powdered sugar
- 1 teaspoon pure vanilla extract
Layers
- 1 box (11 oz) Nilla vanilla wafers approximately 60–70 wafers
- 5 medium ripe bananas sliced into ¼-inch rounds, tossed with 1 tsp lemon juice
Instructions
Make the Pudding Base
- In a large mixing bowl, beat the softened cream cheese with a hand mixer on medium speed until completely smooth and fluffy, about 2 minutes. Add the sweetened condensed milk and vanilla extract and beat until fully incorporated.
- In a separate bowl, whisk the instant pudding mix with the cold whole milk for 2 minutes until thickened. Fold the pudding mixture into the cream cheese mixture until smooth and well combined. Set aside.
Make the Whipped Cream
- Pour the cold heavy cream into a chilled mixing bowl. Beat with a hand mixer or stand mixer on medium-high speed until soft peaks begin to form. Add powdered sugar and vanilla extract, then continue beating to medium-stiff peaks. Do not over-whip.
- Gently fold approximately two-thirds of the whipped cream into the pudding mixture using a rubber spatula. Reserve the remaining one-third for the topping.
Assemble the Layers
- In a large trifle bowl or 9x13-inch baking dish, spread a thin layer of the pudding mixture across the bottom. Arrange a single layer of vanilla wafers over the pudding, covering as much surface area as possible.
- Add a layer of sliced bananas over the wafers, covering them in a single layer. Spoon a generous layer of the pudding mixture over the bananas and spread evenly.
- Repeat the layering process — wafers, bananas, pudding — until all components are used, finishing with a final layer of pudding on top. Aim for at least 3 complete layers.
- Spread the reserved whipped cream over the top in an even layer. Garnish with a few whole vanilla wafers and crushed wafer crumbs. Cover tightly with plastic wrap pressed gently against the whipped cream surface.
Chill and Serve
- Refrigerate for a minimum of 4 hours, or overnight for best results. The wafers will soften dramatically as they absorb the pudding, creating that classic soft, cake-like texture throughout.
- Serve cold, scooping through all the layers so each portion gets a bit of every element. Garnish individual servings with extra banana slices if desired.