

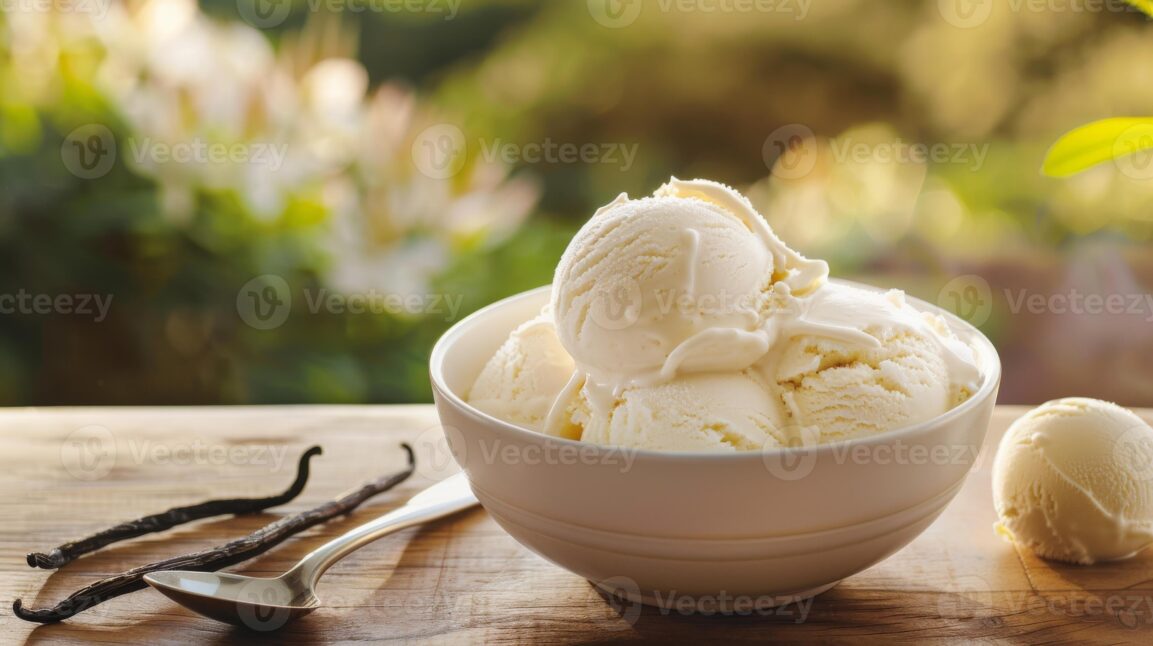
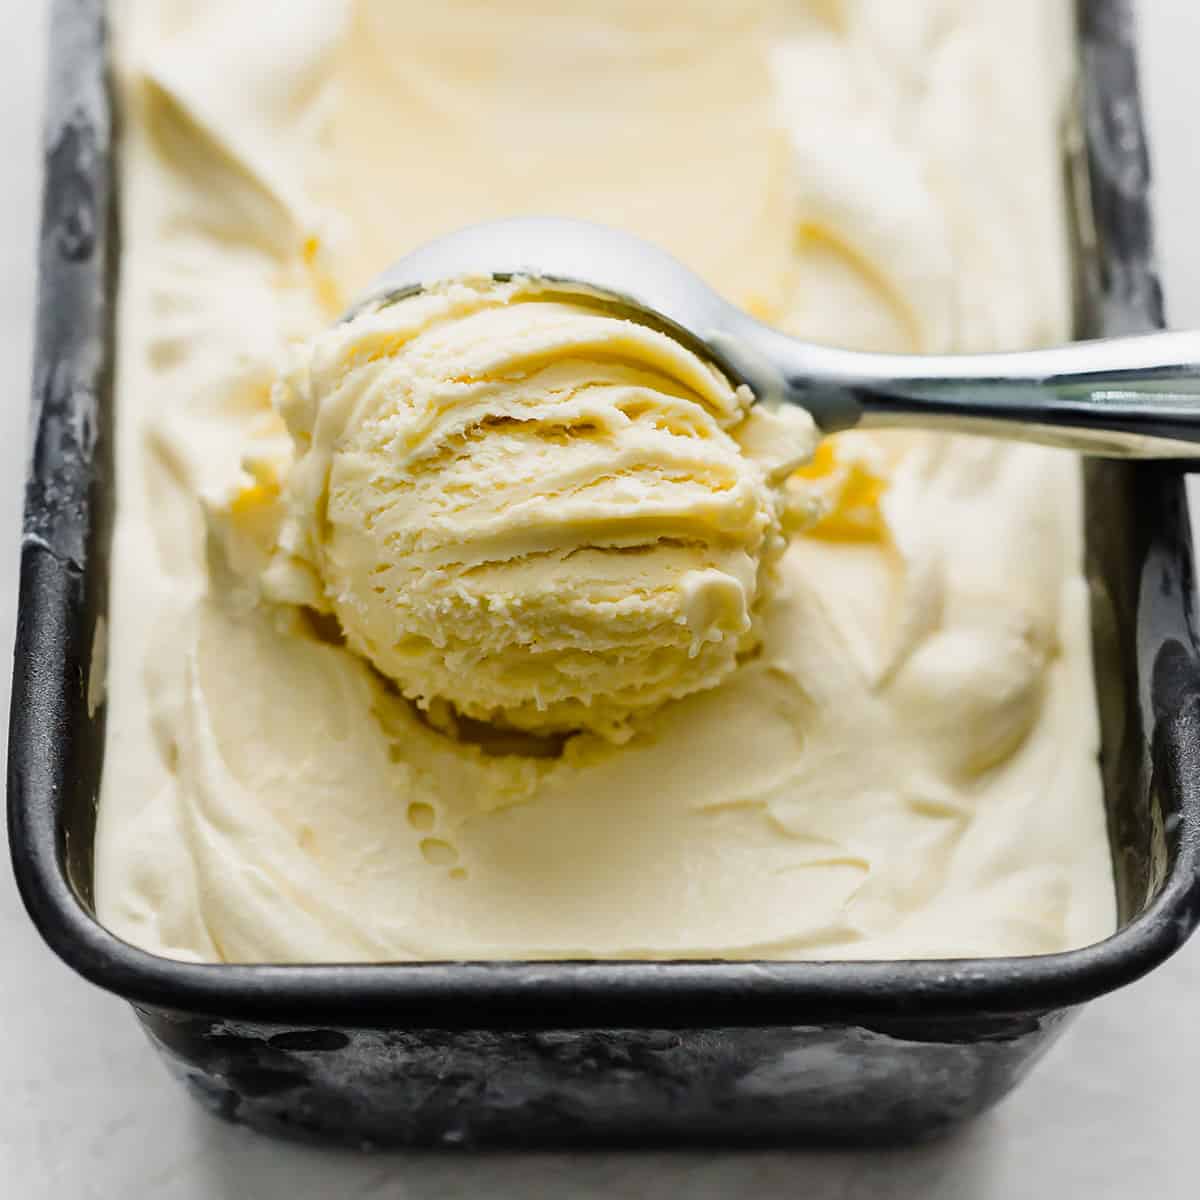
There is a moment — somewhere between the first scoop leaving the container and landing in the bowl — where time slows down. The ice cream is pale gold, almost glowing. It holds its shape just long enough for you to appreciate it before it begins to soften at the edges, releasing that unmistakable vanilla perfume into the warm summer air. This is not the ice cream you grab from the grocery store freezer aisle without thinking. This is Homemade Vanilla Ice Cream — real, from-scratch, custard-based, deeply churned, and completely irresistible. It tastes like something a French pastry chef would serve you at the end of a very good meal, except you made it in your own kitchen.
The thing about vanilla is that it gets underestimated. People call it “plain” as if that’s an insult, but what they really mean is clean, pure, and precise. A great vanilla ice cream is one of the most technically revealing recipes in the dessert world — there’s nowhere to hide. The flavor has to be bold enough to stand on its own, the texture has to be silky without being icy, and the fat content has to be rich enough to coat your palate in the most luxurious way. That’s exactly what this recipe delivers. It starts with a proper egg yolk custard base, which gets steeped with whole vanilla bean, cooked low and slow until it’s thick enough to coat the back of a spoon, then churned to that perfect creamy, scoopable consistency you’d pay $10 a cup for at an artisan creamery.
Whether you’re serving it straight from the machine in soft-serve swirls, layering it alongside a warm Peach Cobbler with buttery biscuit topping, or piling it onto a golden Strawberry Shortcake — this is the base recipe that elevates every summer dessert you already love. Once you make it from scratch, there is simply no going back.
Why You’ll Love This Recipe
- Deeply flavored, not just “vanilla-scented” — Real vanilla bean plus pure extract creates a layered flavor that synthetic versions can’t touch.
- Custard-based richness — The egg yolk base gives this ice cream a dense, creamy texture that stays scoopable without turning rock solid.
- Restaurant-quality at home — This is the kind of vanilla ice cream that makes people ask where you bought it. The answer is always more satisfying than expected.
- Incredibly versatile — Serve it solo, alongside pies and crisps, blended into milkshakes, or as the base for endless mix-in flavors.
- Make-ahead friendly — Churn it the night before and let it firm up overnight. Effortless entertaining dessert with zero day-of stress.
- Pure, clean ingredients — No stabilizers, no guar gum, no mystery additives. Just cream, eggs, sugar, and vanilla doing exactly what they were born to do.
Key Ingredients That Make This Ice Cream Extraordinary
Every ingredient in this recipe earns its place, and understanding why each one matters is the difference between good ice cream and unforgettable ice cream. The foundation is heavy cream — not half-and-half, not whole milk alone — genuine high-fat heavy whipping cream that gives the final product its signature density and that luxurious, coat-the-spoon richness. Pair that with whole milk, which balances the fat content so the texture is plush rather than greasy, and you have a classic French-style ice cream base that churns beautifully.
Then there are the egg yolks. This is what separates a custard-based ice cream from a Philadelphia-style (no-egg) version, and the difference is profound. Egg yolks are loaded with natural emulsifiers and fat that bind the cream and milk into a cohesive, silky mixture — one that freezes into a scoopable, creamy texture rather than an icy, coarse slab. Use six yolks and you’ll understand immediately why this is called a “rich churned base.” The pure vanilla bean is non-negotiable. Split it, scrape every last seed into the warm cream, and let the whole pod steep alongside them. Those tiny black specks aren’t just visual — they are concentrated flavor bombs, and they signal to anyone eating your ice cream that something real and serious is happening in the bowl. Finally, granulated sugar does more than sweeten — it lowers the freezing point of the mixture, keeping the churned ice cream from turning brick-hard in the freezer. It’s the reason your first scoop slides cleanly rather than requiring a pickaxe. As Serious Eats breaks down in their deep-dive on ice cream science, sugar’s role in texture is just as important as its role in flavor.
Pro Tips & Variations
Pro Tips for the Creamiest Possible Result
- Temper the eggs slowly. When you add the hot cream mixture to the egg yolks, go slow — ladle by ladle — whisking constantly. Rush this step and you’ll have vanilla-scented scrambled eggs. Patience here is everything.
- Cook the custard to exactly 170–175°F. Use an instant-read thermometer. This is the sweet spot where the eggs are cooked through and the custard thickens without curdling. It should coat the back of a wooden spoon and hold a clean line when you drag your finger through it.
- Chill the base completely before churning. Give your custard at least 4 hours in the fridge — ideally overnight. A fully cold base churns faster, incorporates more air, and produces a smoother final texture. This step is non-negotiable for serious results.
- Pre-freeze your ice cream bowl. If you’re using a standard home ice cream maker with a freezer bowl, make sure it’s been in the freezer for at least 24 hours. A bowl that isn’t fully frozen will give you soup, not ice cream.
- Don’t over-churn. Pull the ice cream when it looks like thick soft-serve — usually 20–25 minutes. It will continue to firm up in the freezer. Over-churning can lead to a grainy, buttery texture as the fat begins to break.
- Press plastic wrap directly on the surface before sealing the container. This prevents ice crystals from forming on top during freezer storage.
Flavor Variations Worth Trying
- Brown Butter Vanilla — Brown 2 tablespoons of butter until nutty and golden, then whisk it into the custard before chilling. The caramel-like depth it adds is extraordinary.
- Vanilla Bean Honey — Swap 2 tablespoons of sugar for good raw honey. Floral, complex, and dangerously good.
- Salted Caramel Swirl — Fold a ribbon of homemade salted caramel through the freshly churned ice cream before the final freeze.
- Cookie Dough or Brownie Chunks — Stir in your mix-ins during the last 5 minutes of churning so they distribute evenly without breaking apart.
- Lavender Vanilla — Steep 1 tablespoon of culinary lavender buds with the cream and milk, then strain before proceeding. Elegant and summer-perfect.
If you want to go deeper on classic American dessert pairings for this ice cream, Food Network’s roundup of 50 ice cream recipes is a great rabbit hole for inspiration. And speaking of pairings — a warm, bubbling Blueberry Pie with a classic lattice top underneath a scoop of this vanilla is one of summer’s truly perfect combinations. The contrast of cold, creamy ice cream against a hot, jammy fruit filling is the kind of thing that makes people go quiet at the dinner table.
Nutritional Highlights
Homemade Vanilla Ice Cream is, by design, an indulgent dessert — and this recipe leans into that with full confidence. Each generous scoop delivers approximately 280–320 calories, with the majority coming from the healthy fats in cream and egg yolks. Those fat calories aren’t just empty — egg yolks bring fat-soluble vitamins A, D, E, and K, along with choline, which supports brain function. Heavy cream contributes calcium and real dairy fat that your body processes more efficiently than highly processed alternatives. There are no artificial preservatives, no high-fructose corn syrup, and no mystery stabilizers — just clean, real food in dessert form. If you’re looking for a lighter version, a Mixed Berry Crisp with a buttery oat crumble makes a wonderful lower-calorie summer pairing that lets this ice cream shine as a smaller, worthy finishing scoop. As with any rich dessert, the pleasure is in savoring it — and this one is absolutely worth savoring.
Frequently Asked Questions
Can I make Homemade Vanilla Ice Cream without an ice cream maker?
Yes, absolutely — though it requires a bit more hands-on effort. After chilling your custard base, pour it into a shallow, freezer-safe baking dish and place it in the freezer. Every 30–45 minutes for the first 3–4 hours, pull it out and vigorously stir or beat the mixture with a hand mixer or whisk, breaking up any ice crystals as they form. This process mimics the churning action of an ice cream machine by incorporating air and preventing large ice crystals from developing. The final texture won’t be quite as smooth as machine-churned ice cream, but it will be genuinely delicious and far superior to store-bought. If you plan to make homemade ice cream often, a quality countertop ice cream maker is one of the most worthwhile kitchen investments you’ll ever make.
How long does Homemade Vanilla Ice Cream keep in the freezer?
Stored properly in an airtight, freezer-safe container with plastic wrap pressed directly against the surface of the ice cream, this homemade vanilla ice cream will keep well for up to 2 weeks. After that, the texture can begin to degrade — ice crystals form, and the flavor loses some of its brightness. Homemade ice cream lacks the industrial stabilizers that give store-bought versions a longer shelf life, which is actually a mark of quality. For the absolute best texture and flavor, plan to enjoy it within the first 5–7 days. Let it sit at room temperature for 5 minutes before scooping — fresh-churned, properly stored ice cream firms up significantly in the freezer and benefits from a short temper before serving.
Can I use vanilla extract instead of a whole vanilla bean?
You can, and the ice cream will still be excellent — but there is a noticeable difference in flavor depth and visual appeal. A whole vanilla bean delivers a more complex, floral, and layered vanilla flavor that pure extract can approximate but not fully replicate. If you’re using extract, opt for a high-quality pure vanilla extract (not imitation) and use 2 teaspoons per batch. For an even closer result to using a whole bean, look for vanilla bean paste — it includes the seeds in a thick, syrup-like base and gives you those beautiful specks throughout the finished ice cream without the cost of whole pods. If budget allows, Madagascar Bourbon vanilla beans are widely considered the gold standard for ice cream and dessert applications.
Make It, Share It, Save It
This Homemade Vanilla Ice Cream is the kind of recipe that becomes a tradition. The kind that kids remember making with you in the kitchen, that guests ask for by name at summer gatherings, that turns an ordinary Tuesday evening into something worth sitting down for. Once you’ve tasted a custard-based, properly churned vanilla ice cream made with real vanilla bean and fresh egg yolks, every other version feels like a compromise. This is the real thing — bold, rich, and completely crave-worthy in the simplest possible way.
If you make this recipe, we would love to hear about it. Leave a comment below, rate the recipe, and share a photo on social media — tag us so we can see your beautiful scoops. Pin this recipe for later so it’s ready the next time summer calls for something cold and extraordinary.
Find the complete recipe card below ↓
Homemade Vanilla Ice Cream
Equipment
- Medium heavy-bottomed saucepan
- Large mixing bowl
- Whisk
- Wooden spoon or heat-safe spatula
- Instant-read thermometer
- Fine-mesh strainer
- Ice cream maker
- Airtight freezer-safe container
Ingredients
Ice Cream Base
- 2 cups heavy whipping cream cold
- 1 cup whole milk cold
- 3/4 cup granulated sugar divided
- 6 large egg yolks room temperature
- 1 whole vanilla bean split lengthwise, seeds scraped
- 2 teaspoons pure vanilla extract added after cooking
- 1/4 teaspoon fine sea salt
Instructions
Make the Custard Base
- Combine the heavy cream, whole milk, half the sugar (6 tablespoons), the vanilla bean seeds, and the empty vanilla bean pod in a medium heavy-bottomed saucepan over medium heat. Warm the mixture, stirring occasionally, until it just begins to steam and small bubbles form around the edges — do not boil. Remove from heat.
- In a large bowl, whisk together the egg yolks and remaining sugar (6 tablespoons) until the mixture is pale, thick, and ribbons off the whisk — about 2 minutes.
- Temper the eggs: slowly ladle the hot cream mixture into the yolk mixture one ladle at a time, whisking constantly after each addition. This raises the temperature of the eggs gradually without scrambling them. Continue until about half the cream is incorporated, then pour the egg mixture back into the saucepan with the remaining cream.
- Return the saucepan to medium-low heat. Cook, stirring constantly with a wooden spoon or heat-safe spatula, until the custard thickens enough to coat the back of the spoon and reads 170–175°F on an instant-read thermometer, about 5–8 minutes. Do not let it boil.
- Remove from heat. Fish out and discard the vanilla bean pod. Stir in the vanilla extract and sea salt. Pour the custard through a fine-mesh strainer into a clean bowl to remove any cooked egg bits.
Chill the Base
- Place the bowl of custard over an ice bath (a larger bowl filled with ice and cold water) and stir until cooled to room temperature, about 10 minutes. Cover with plastic wrap pressed directly against the surface and refrigerate for at least 4 hours, or overnight. The custard must be completely cold before churning.
Churn and Freeze
- Pour the chilled custard into your ice cream maker and churn according to the manufacturer's instructions, typically 20–25 minutes, until the mixture reaches a thick soft-serve consistency.
- Transfer the churned ice cream to a freezer-safe airtight container. Press a sheet of plastic wrap directly against the surface to prevent ice crystals. Freeze for at least 2–4 hours until firm and scoopable.
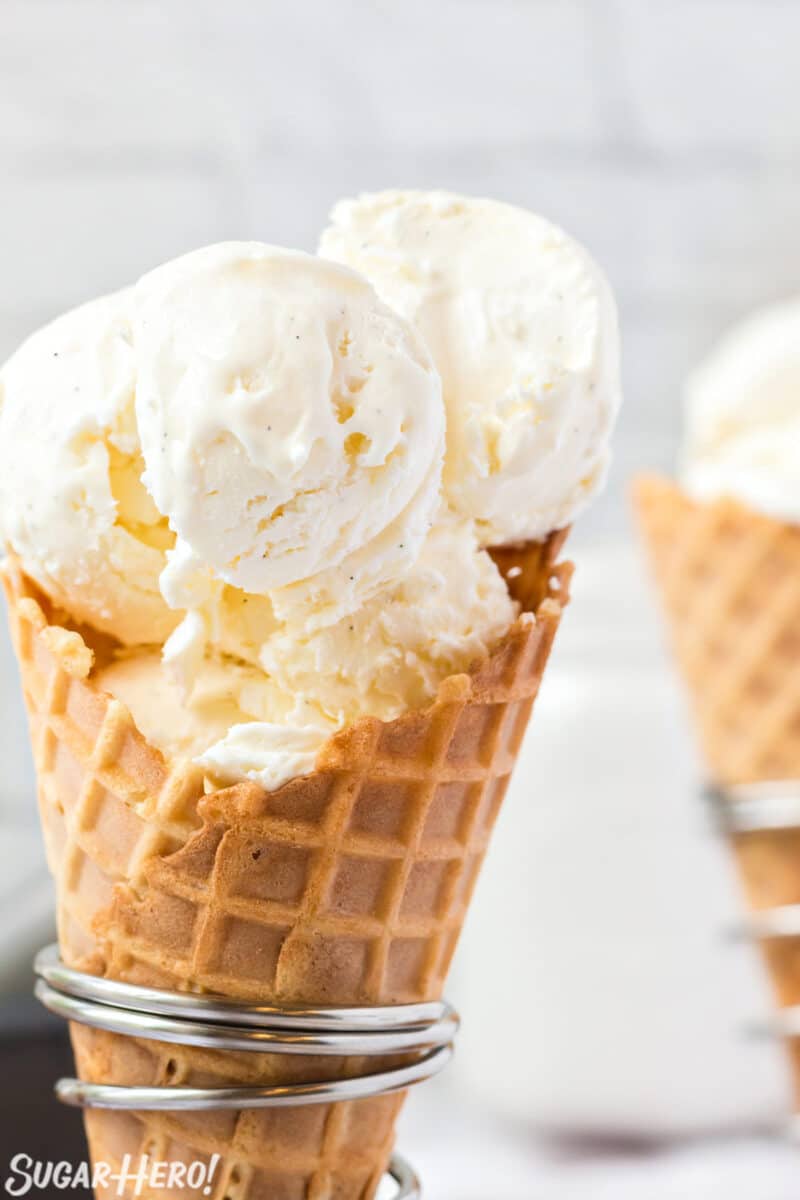
- Before serving, let the ice cream sit at room temperature for 5 minutes for easier scooping. Serve in bowls or cones and enjoy immediately.