There’s something utterly magical about the moment you slice into a freshly baked sourdough loaf—that satisfying crackle as the knife breaks through the golden, blistered crust, revealing the gorgeous open crumb within. The intoxicating aroma that fills your kitchen isn’t just bread; it’s pure alchemy. This isn’t your average supermarket loaf. This sourdough bread delivers the kind of complex, tangy depth that makes artisan bakeries famous, with a crust so perfectly crispy it shatters between your teeth and an interior so tender and chewy it practically melts on your tongue.
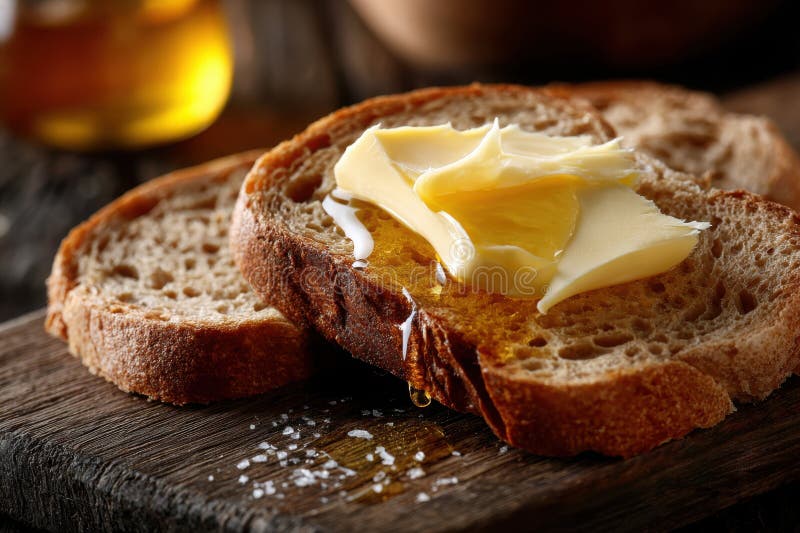
What makes sourdough truly irresistible is its bold personality—that distinctive tang from wild fermentation that dances across your palate, the way each bite offers varying textures from the crackling exterior to the pillowy crumb dotted with irregular holes. This is comfort food elevated to an art form, the kind of bread that transforms simple butter into liquid gold and makes every sandwich a gourmet experience. When you master this recipe, you’re not just baking bread; you’re creating edible poetry that rivals the finest European bakeries.
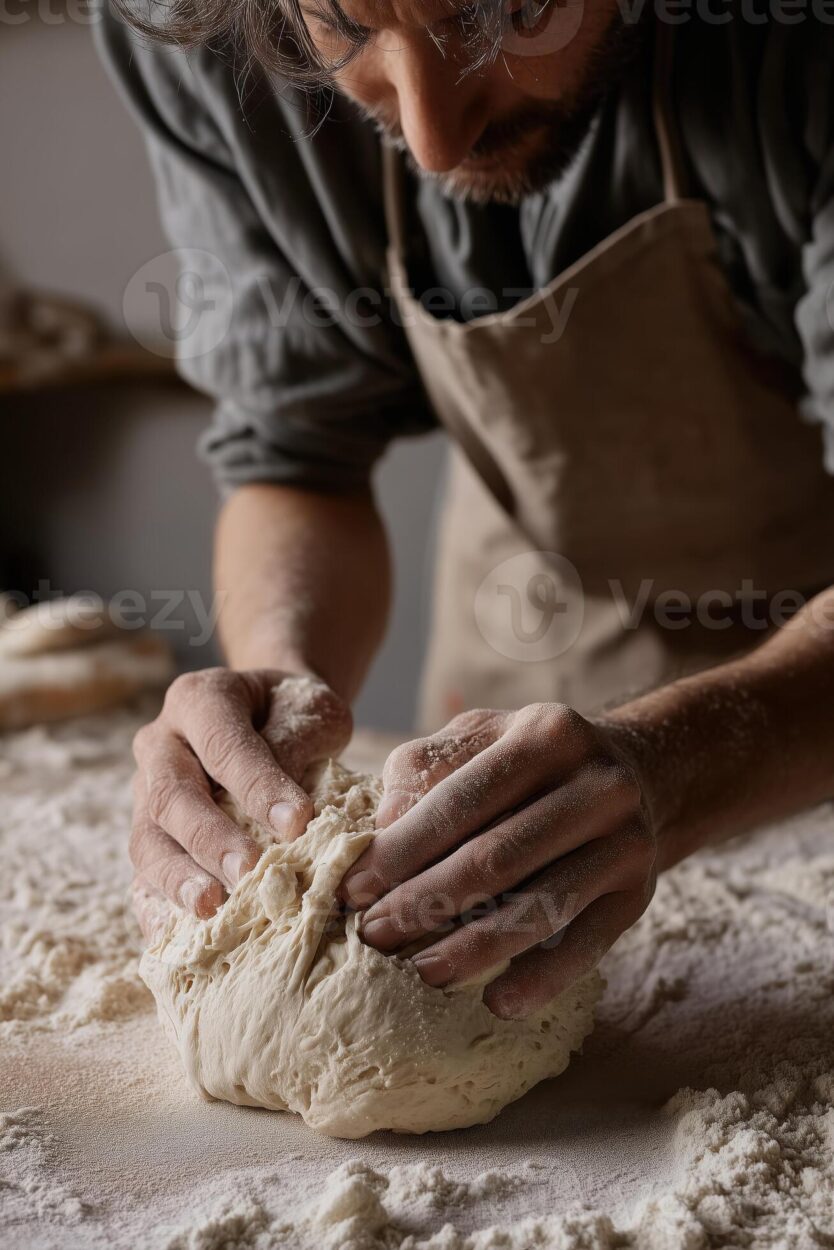
The beauty of this sourdough bread lies in its deceptive simplicity—just a handful of ingredients transformed through time, patience, and the wild magic of fermentation into something absolutely extraordinary. Every loaf tells a story of slow development, where flavors deepen and intensify over days of careful nurturing, resulting in bread so complex and satisfying that it becomes the star of any meal.
Why You’ll Love This Recipe
This sourdough bread recipe delivers bakery-quality results that will make you question why you ever bought store-bought loaves. The deeply complex flavor profile develops over days of fermentation, creating layers of tangy, nutty, and subtly sweet notes that dance on your palate. The texture is absolutely divine—a shatteringly crisp crust that gives way to an incredibly tender, chewy crumb with those coveted irregular holes that make each bite interesting.
What sets this recipe apart is its forgiving nature despite the intimidating reputation of sourdough. The extended fermentation time actually works in your favor, developing incredible depth while being surprisingly flexible with your schedule. The active starter creates natural leavening that produces superior flavor compared to commercial yeast, while the long bulk fermentation develops gluten structure that creates that perfect chewy texture bread lovers crave.
Beyond the incredible taste and texture, there’s something deeply satisfying about the entire process—from feeding your starter to shaping the dough to hearing that first crackle as the loaf cools. This bread becomes a conversation starter, a gift that impresses, and a staple that elevates everything from decadent French toast casseroles to simple avocado toast into restaurant-quality experiences.

Key Ingredients
The magic of exceptional sourdough bread lies in its beautifully minimal ingredient list, where each component plays a crucial role in developing those complex flavors we crave. Your active sourdough starter is the heart and soul of this recipe—this living culture of wild yeast and beneficial bacteria creates the signature tang while naturally leavening the dough. A healthy, bubbly starter that doubles in size within 4-8 hours of feeding will give you the most robust flavor and reliable rise. High-quality bread flour provides the protein content necessary for developing strong gluten structure, creating that perfect chewy texture and supporting those gorgeous open holes in the crumb. The higher protein content, typically around 12-14%, gives your dough the strength to hold gas bubbles during the long fermentation process. Kosher salt doesn’t just season the bread—it controls fermentation speed, strengthens gluten development, and enhances the overall flavor complexity, while filtered water ensures no chlorine interferes with your starter’s delicate ecosystem. Finally, a small amount of whole wheat flour adds depth and nuttiness, creating subtle complexity that makes each bite more interesting than basic white sourdough.
Pro Tips & Variations
The key to sourdough success lies in understanding your dough’s behavior rather than following rigid timelines. Watch for visual and tactile cues—properly bulk-fermented dough will feel light, airy, and slightly jiggly when you gently shake the bowl. The surface should look smooth and slightly domed, and when you gently poke it, it should spring back slowly but leave a slight indentation. Temperature dramatically affects fermentation speed, so adjust your timing accordingly: cooler kitchens (below 70°F) will require longer bulk fermentation, while warmer environments speed up the process.
For an extra flavor boost, try incorporating a small percentage of whole grain flours like spelt, rye, or einkorn, which add complexity and improve the bread’s nutritional profile. The autolyse technique—mixing just flour and water initially and letting it rest for 30-60 minutes before adding starter and salt—dramatically improves gluten development and creates a more extensible dough that’s easier to shape.
Steam is absolutely crucial for achieving that coveted crispy crust and maximum oven spring. If you don’t have a Dutch oven, place a cast iron pan on the bottom oven rack and pour boiling water into it right after loading your bread. For scoring, use a very sharp blade or razor at a 30-degree angle, making swift, confident cuts about ¼ inch deep. The key is speed and decisiveness—hesitant scoring leads to jagged tears rather than clean openings.
Consider flavor variations like adding toasted seeds, herbs, or even cheese for more indulgent versions. Walnuts and rosemary create an elegant combination, while everything bagel seasoning sprinkled on top before baking adds bold, savory appeal. For those who love rich, comforting bread similar to our indulgent banana bread, try incorporating a small amount of honey or maple syrup into the dough for subtle sweetness that pairs beautifully with the natural tang.
Nutritional Highlights
Sourdough bread offers impressive nutritional advantages over conventional bread, thanks to the beneficial fermentation process that transforms simple ingredients into something more digestible and nutritious. The wild fermentation partially breaks down gluten proteins and phytic acid, making the bread easier to digest and increasing mineral bioavailability. The natural acids produced during fermentation lower the bread’s glycemic index compared to regular bread, leading to more stable blood sugar levels. Each slice provides quality carbohydrates for sustained energy, along with protein from the bread flour and beneficial probiotics from the fermentation process. The inclusion of whole wheat flour adds fiber, B vitamins, and minerals like iron and magnesium. According to research from Epicurious, the long fermentation process also creates beneficial compounds that support gut health and may improve nutrient absorption.
Frequently Asked Questions
Can I make sourdough bread without a kitchen scale?
While it’s possible to make sourdough using cup measurements, a kitchen scale dramatically improves consistency and success rates. Flour density can vary significantly based on humidity, how it’s stored, and measuring technique, which affects hydration ratios crucial for proper dough development. If you must use cups, spoon flour lightly into measuring cups and level off, but expect some variation in results. Professional bakers universally recommend weighing ingredients for the most reliable outcomes, especially with sourdough’s longer timeline investment.
How do I know when my sourdough is properly proofed?
Proper proofing is all about recognizing subtle visual and tactile cues rather than relying solely on timing. For bulk fermentation, look for a 50-70% size increase, a smooth, slightly domed surface, and dough that feels light and airy when gently shaken. The “poke test” during final proofing is invaluable—gently press the dough with a floured finger. If it springs back quickly, it needs more time; if it doesn’t spring back at all, it’s overproofed. Perfect proofing shows a slow spring back that leaves a slight indentation, indicating the dough is ready for the oven.
What’s the best way to store sourdough bread for maximum freshness?
Sourdough’s natural acidity helps it stay fresh longer than commercial bread, but proper storage maximizes its lifespan. For the first day, store cut-side down on a cutting board to maintain crust crispness. After that, wrap in a clean kitchen towel or store in a paper bag at room temperature for 2-3 days. Avoid plastic bags, which make the crust soggy. For longer storage, slice and freeze portions in airtight containers for up to three months. Refresh day-old bread by misting with water and warming in a 350°F oven for 5-10 minutes to restore crust crispness. As detailed by Serious Eats, proper storage techniques can extend your bread’s prime eating period significantly.
There’s something deeply satisfying about mastering the art of sourdough bread—from nurturing your starter to pulling that first perfect loaf from the oven. This recipe transforms your kitchen into an artisan bakery, filling your home with irresistible aromas and providing you with bread that surpasses anything you can buy. The complex flavors, perfect texture, and impressive appearance make every effort worthwhile, whether you’re serving it alongside dinner or using it as the foundation for an elevated breakfast.
The journey of sourdough baking is as rewarding as the destination. Each loaf teaches you something new about fermentation, timing, and technique, building your confidence and deepening your appreciation for this ancient craft. Once you experience the satisfaction of slicing into your own perfectly crusty, tangy sourdough, you’ll understand why bakers become so passionate about this process.
Ready to transform your baking game? Save this recipe to your favorites and share it with fellow bread enthusiasts who appreciate the finer things in life. Your kitchen is about to become the neighborhood’s most popular destination, and your bread basket will never be empty again.
Find the complete recipe card below ↓

Artisan Sourdough Bread
Equipment
- Large mixing bowl
- Kitchen scale
- Bench scraper
- Banneton or proofing bowl
- Dutch oven
- Parchment paper
- Sharp blade or razor
Ingredients
- 100 g active sourdough starter fed and bubbly
- 375 g filtered water room temperature
- 450 g bread flour high protein
- 50 g whole wheat flour
- 10 g kosher salt
Instructions
- In a large mixing bowl, whisk together the active sourdough starter and water until well combined and slightly frothy.
- Add both flours to the bowl and mix with your hands or a wooden spoon until no dry flour remains. The dough will look shaggy. Cover and let rest for 30 minutes (autolyse).
- Add salt and mix thoroughly by hand, pinching and folding the dough until the salt is fully incorporated and the dough feels smooth, about 3-4 minutes.
- Begin bulk fermentation: Cover the bowl and let rest for 30 minutes, then perform the first set of coil folds by lifting the dough from one side and folding it over itself. Rotate the bowl 90 degrees and repeat on all four sides.
- Continue coil folding every 30 minutes for the first 2 hours (4 sets total), then let the dough rest undisturbed for 2-4 more hours until increased by 50-70% and feels light and airy.
- Turn the dough onto a lightly floured surface and shape into a loose round. Let rest 20 minutes, then perform final shaping into a tight boule or batard.
- Place seam-side up in a banneton or bowl lined with a floured kitchen towel. Cover and refrigerate overnight, or proof at room temperature for 2-4 hours until properly proofed.
- Place a Dutch oven with lid in the oven and preheat to 475°F for at least 45 minutes.
- Carefully turn the dough onto parchment paper, score with a sharp blade, and transfer to the hot Dutch oven using the parchment as a sling.
- Cover and bake for 20 minutes, then remove the lid, reduce temperature to 450°F, and bake 20-25 minutes more until deep golden brown with an internal temperature of 205-210°F.
- Cool completely on a wire rack for at least 1 hour before slicing to allow the crumb to set properly.