

The Dinner Roll That Steals the Show Every Single Time
There is something almost unfair about a truly great dinner roll. You set it on the table alongside a roasted turkey, a bubbling casserole, and a gravy boat that took two days to make — and somehow, it’s the roll that disappears first. These Honey Butter Dinner Rolls are exactly that kind of unfair. They are pillowy soft on the inside with a glossy, golden crust that practically glows under the light. The moment you pull one apart, steam escapes, the crumb stretches like a cloud, and the aroma of warm butter and honey hits you like a warm hug you didn’t know you needed.
I’ve been chasing the perfect dinner roll for years. I’ve made them too dense, too dry, too sweet, not sweet enough. I’ve pulled them out of the oven only to watch them deflate like sad little balloons. But this recipe? This one cracked the code. The secret is in the dough enrichment — butter, eggs, and a touch of honey worked directly into the dough — and in the honey butter that gets brushed on twice: once the moment they come out of the oven, and once more right before serving. That double-brush is the move. It gives the rolls a lacquered, bakery-quality finish that tastes as indulgent as it looks.
What makes these rolls even more exciting is that they’re designed to be made ahead. Whether you’re pulling together a full Thanksgiving spread or just want fresh rolls on a Tuesday night without the stress, this recipe has you covered. You can shape the rolls the night before, refrigerate them overnight, and bake them fresh the next day. No rushing, no last-minute panic, no dry rolls from the grocery store. Just perfect, golden, honey-glazed dinner rolls that make everyone at the table reach for seconds before they’ve even finished their first.
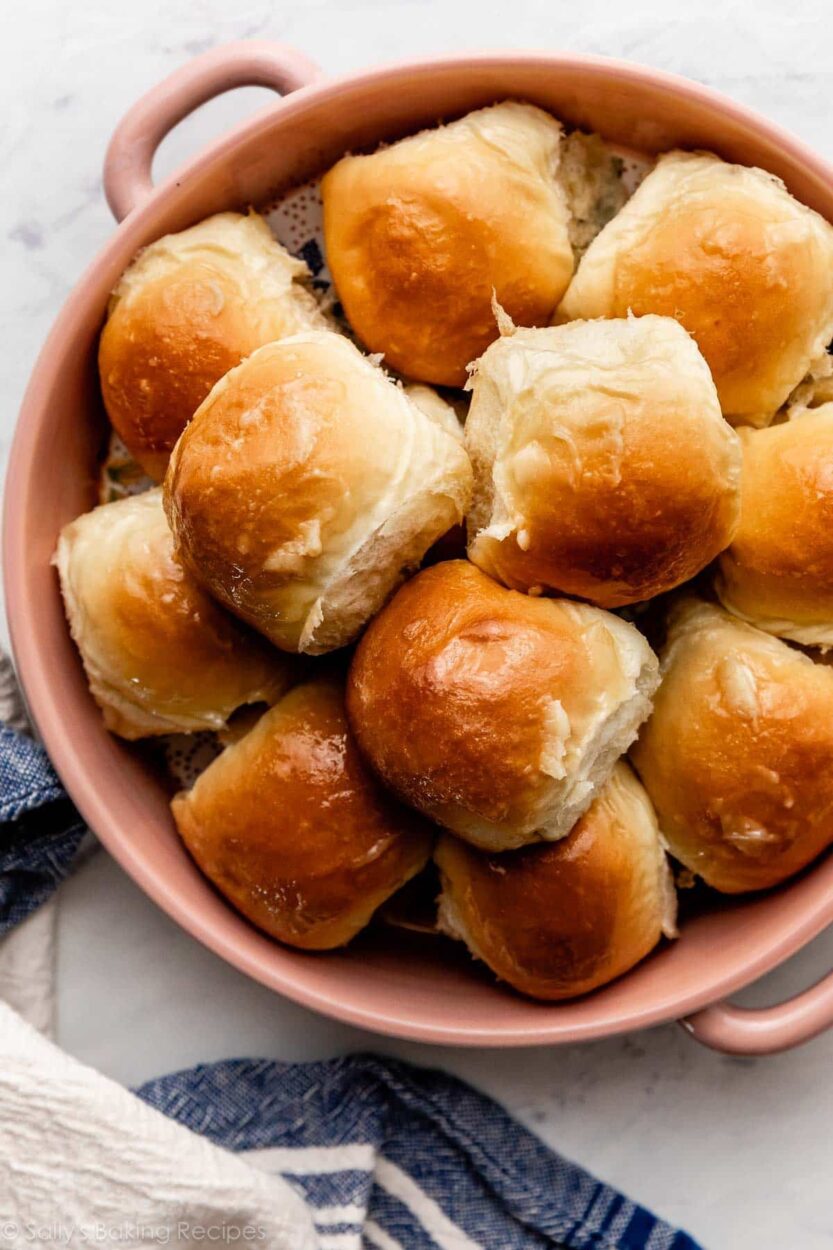
Why You’ll Love This Recipe
- Insanely soft and pillowy: The enriched dough — butter, eggs, milk — creates a tender, cloud-like crumb that holds together beautifully when you pull the roll apart.
- That honey butter glaze: This is not a subtle finishing touch. It’s a rich, aromatic, shiny coat of melted butter and honey that soaks into every crevice and makes these rolls taste like something from a high-end bakery.
- Completely make-ahead friendly: Shape them the night before, refrigerate, and bake the next day. Perfect for holidays, dinner parties, or any time you want fresh rolls without the day-of stress.
- Crowd-pleasing every single time: These rolls disappear faster than anything else on the table. Every. Single. Time.
- Beginner-friendly yeast bread: If you’ve been intimidated by working with yeast, this is the recipe to start with. The process is forgiving, and the results are absolutely spectacular.
Key Ingredients That Make These Rolls Exceptional
Every element of this dough is doing meaningful work, and understanding why helps you bake with confidence. The foundation of flavor and texture here starts with whole milk — not skim, not a dairy-free substitute, but full-fat whole milk warmed to that sweet spot of 110°F. Warm milk activates the yeast gently and contributes fat that makes the crumb tender and rich rather than bready and dense. Speaking of yeast, using instant yeast (also called rapid-rise) means you skip the proofing step in water, saving time without sacrificing any lift. The unsalted butter in this recipe pulls triple duty: it goes into the dough for richness, it gets brushed on top right out of the oven, and it’s blended with honey for that iconic finishing glaze. Use good quality butter here — you’ll taste the difference. Honey is the soul of this recipe in more ways than one. It sweetens the dough just enough to round out the yeasty, buttery flavors without making the rolls cloying, and it’s the star of the glaze that makes them look like something from a professional bakery case. Finally, eggs enrich the dough in a way that creates that pull-apart, almost brioche-like texture — golden in color, soft in bite, with just enough structure to hold a generous smear of extra butter at the table.
Pro Tips & Variations
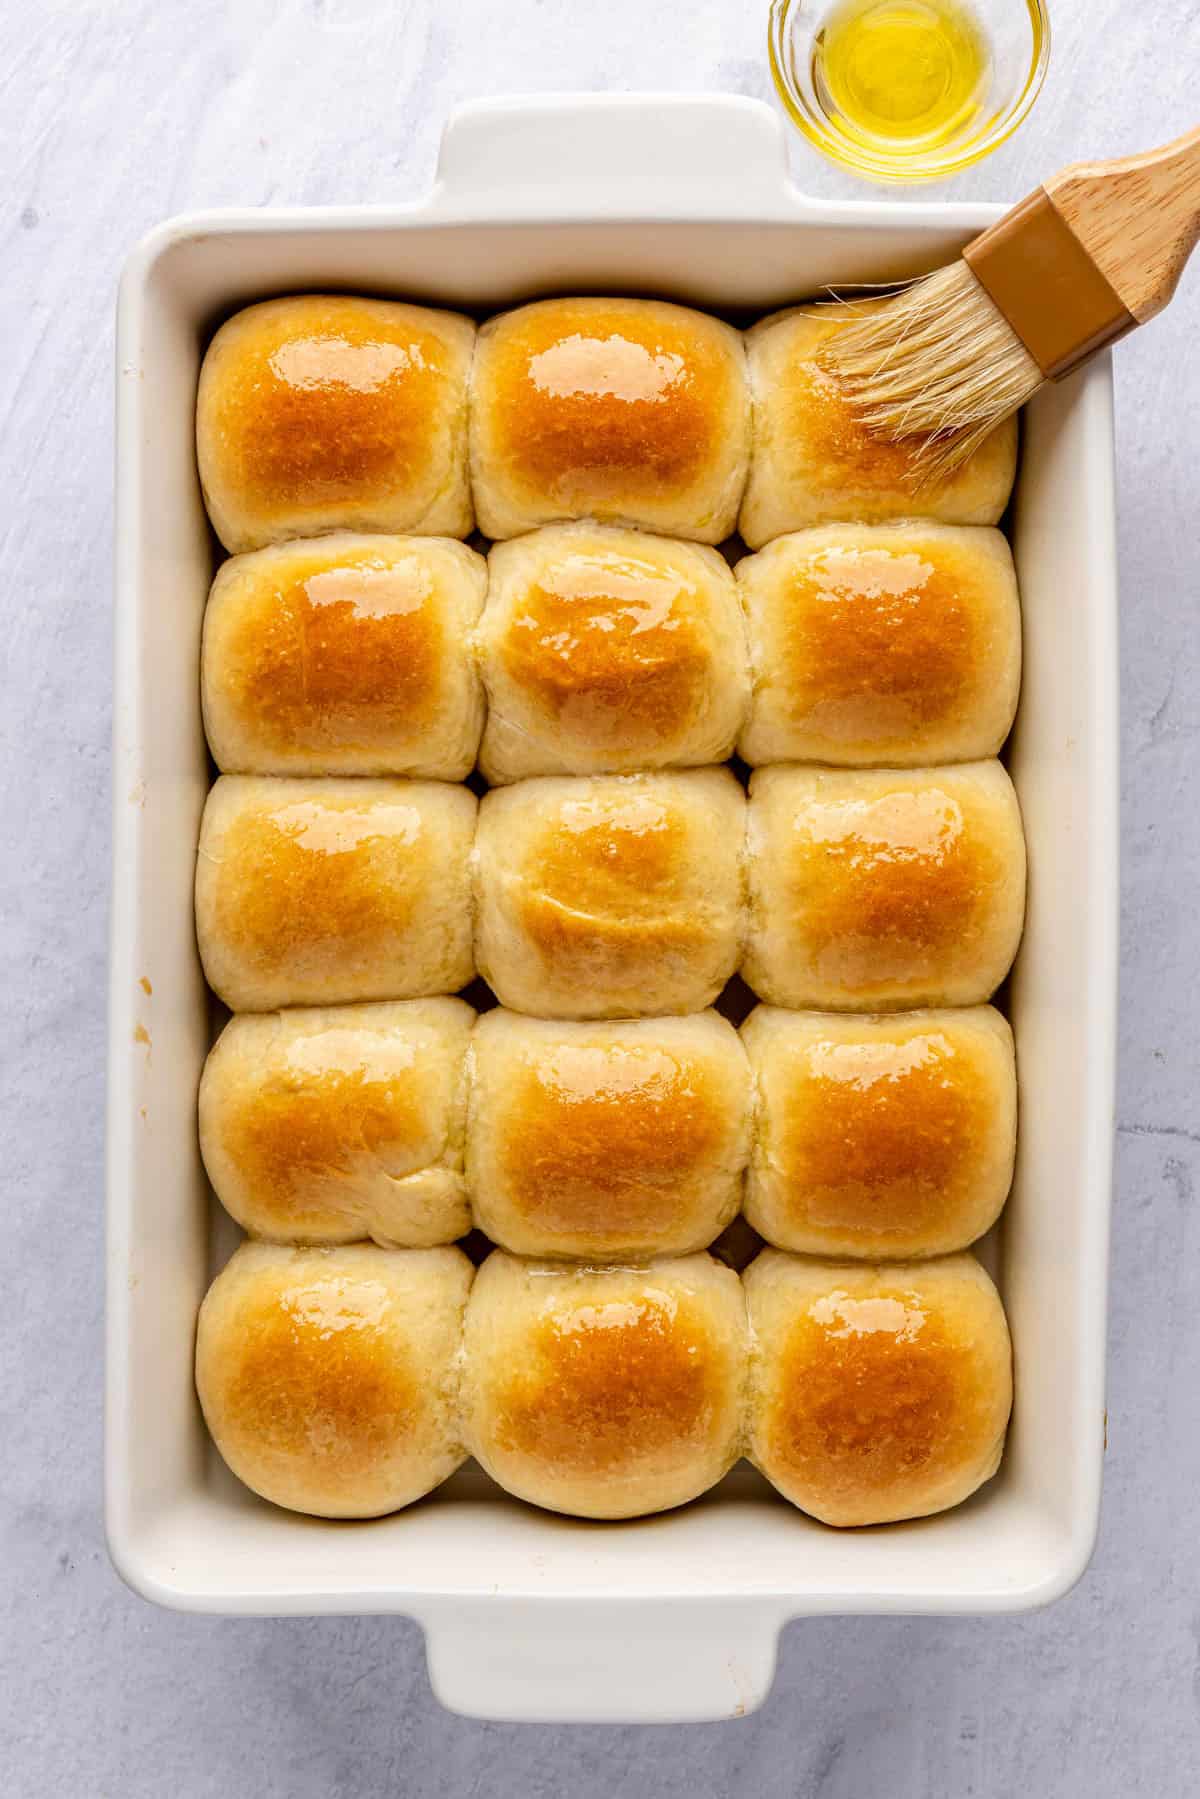
- Don’t skip the second brush: The first brush of honey butter happens the moment the rolls come out of the oven while they’re still hot. The second brush happens about 5 minutes later, just before serving. The second layer is what gives them that signature glossy, lacquered finish.
- Temperature matters for yeast: Milk that’s too hot (above 115°F) will kill the yeast. Too cool and the yeast won’t activate properly. Use a thermometer if you can — 105–110°F is the sweet spot.
- The make-ahead method: After shaping the rolls and placing them in the baking pan, cover tightly with plastic wrap and refrigerate for up to 16 hours. When you’re ready to bake, pull them out and let them come to room temperature and finish their second rise for about 60–90 minutes before baking.
- Want more flavor? Add a pinch of flaky sea salt on top of the honey butter right before the second glaze. Sweet and salty rolls are absolutely transcendent, especially alongside savory dishes like Brown Butter Turkey Gravy.
- Freeze after baking: These rolls freeze beautifully. Let them cool completely, wrap individually in plastic wrap, and freeze for up to 2 months. Reheat in a 325°F oven for 8–10 minutes, then brush with fresh honey butter.
- Garlic herb variation: Swap the honey in the finishing butter for minced roasted garlic and fresh thyme. Spectacular alongside pasta or roasted meats.
- Make them bigger: For sandwich-style rolls, divide the dough into 9 larger portions instead of 12. Add 3–4 minutes to the bake time and enjoy them piled with leftover turkey the next day.
These dinner rolls pair beautifully with every holiday side imaginable. If you’re building out a full feast, try them alongside Make Ahead Mashed Potatoes and Sausage and Herb Stuffing for a table that will genuinely impress. And if you want to understand the science behind what makes enriched breads so perfectly soft, Serious Eats has an excellent deep-dive on bread enrichments worth bookmarking.
Nutritional Highlights
Each honey butter dinner roll comes in at approximately 230 calories, making them an indulgent but absolutely worth-it addition to your table. The enriched dough provides a meaningful amount of carbohydrates for energy, while the butter and egg content contribute to that satisfying, rich mouthfeel. These aren’t diet food — and they’re not trying to be. They’re comfort food done right, made with real ingredients that you can actually recognize. If you want to lighten them slightly, you can reduce the butter in the dough to 3 tablespoons (rather than 4), though the texture will be slightly less rich. The honey in the glaze adds minimal sugar per roll while delivering maximum flavor impact. For a reference on how homemade dinner rolls compare nutritionally to store-bought, Food Network has a helpful guide to homemade bread basics worth checking out.
Frequently Asked Questions
Can I make these dinner rolls ahead of time?
Absolutely — and this is one of the best things about this recipe. After shaping the rolls and arranging them in your baking pan, cover the pan tightly with plastic wrap and refrigerate for up to 16 hours. The cold slows the yeast activity so the rolls undergo a slow, flavor-developing rise overnight. When you’re ready to bake, remove the pan from the refrigerator and allow the rolls to sit at room temperature until they’ve puffed up noticeably and look pillowy — this typically takes 60 to 90 minutes depending on how warm your kitchen is. Then bake as directed. This make-ahead method is ideal for Thanksgiving or Christmas morning when oven space and timing are at a premium.
Why didn’t my rolls rise properly?
The most common culprit is yeast that’s either expired or was killed by milk that was too hot. Always check the expiration date on your yeast before baking, and use a thermometer to verify your milk is between 105°F and 110°F before adding the yeast. The second common reason is a kitchen that’s too cold for proper rising. Yeast loves warmth. If your kitchen is on the cool side, try placing the covered bowl in a slightly warm oven (just the oven light turned on, or a 200°F oven that’s been turned off for 10 minutes) to give the dough a cozy environment. You should see the dough roughly double in size during the first rise — if it hasn’t, give it more time before moving forward.
How do I store leftover dinner rolls, and how long do they last?
Store any leftover rolls in an airtight container or zip-top bag at room temperature for up to 3 days. They’re best on the day they’re baked, but day-two rolls are still excellent — just warm them for 10–15 seconds in the microwave or for 5 minutes in a 325°F oven and brush with a fresh smear of softened honey butter before serving. For longer storage, freeze baked rolls individually wrapped in plastic wrap and stored in a freezer bag for up to 2 months. Reheat from frozen in a 325°F oven for 10–12 minutes. Do not refrigerate the rolls — refrigeration dries out bread quickly and speeds up staling.
Make These Rolls and Watch Them Disappear
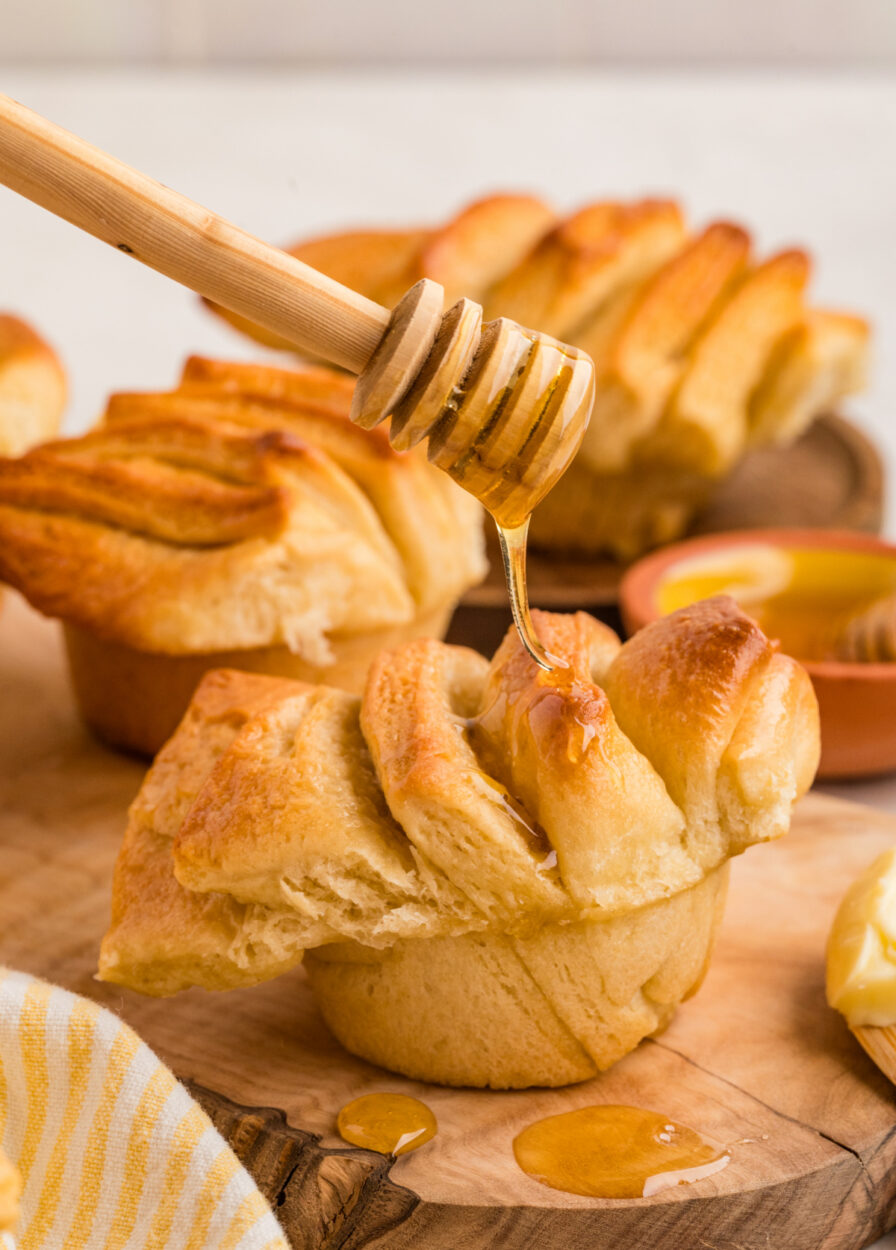
There’s a reason dinner rolls hold such a special place at the table. They’re humble enough to belong anywhere, yet when they’re done right — golden, glossy, steaming, brushed with honey butter that makes your fingers sticky in the best possible way — they become the thing everyone remembers. These Honey Butter Dinner Rolls are the kind of recipe you’ll come back to again and again, not just for holidays but for Sunday dinners, potlucks, and any occasion where you want to put something truly irresistible on the table. Make them once and they’ll become your signature. Make them for someone else and watch their eyes light up the moment they pull one apart.
If you try this recipe, please leave a comment below and let me know how they turned out — I genuinely love hearing about your bakes. Save this recipe to your Pinterest boards, share it with a friend who loves to bake, and tag us when you post your golden rolls. You deserve a standing ovation for pulling these off, and we want to see them.
Find the complete recipe card below ↓

Honey Butter Dinner Rolls
Equipment
- Stand mixer with dough hook
- 9x13-inch baking pan
- Pastry brush
- Kitchen scale (optional)
- Instant-read thermometer
Ingredients
Dough
- 3 cups all-purpose flour plus 2–4 tablespoons more if dough is sticky
- 2.25 tsp instant yeast one standard packet
- 3 tbsp granulated sugar
- 1 tsp kosher salt
- 3/4 cup whole milk warmed to 105–110°F
- 2 large eggs room temperature
- 4 tbsp unsalted butter softened, cut into cubes
- 2 tbsp honey
Honey Butter Glaze
- 4 tbsp unsalted butter melted
- 2 tbsp honey
- 1/4 tsp flaky sea salt optional, for topping
Instructions
Make the Dough
- In the bowl of a stand mixer fitted with the dough hook, combine flour, instant yeast, sugar, and salt. Whisk briefly to combine.
- Add the warmed milk, eggs, and honey. Mix on low speed until the dough just starts to come together, about 2 minutes.
- With the mixer running on low, add the softened butter one cube at a time, waiting for each piece to incorporate before adding the next. This should take about 3–4 minutes total.
- Increase mixer speed to medium and knead for 6–8 minutes until the dough is smooth, elastic, and slightly tacky but pulls away cleanly from the bowl. If dough is very sticky, add flour 1 tablespoon at a time.
First Rise
- Shape the dough into a ball and place in a lightly greased bowl. Cover with plastic wrap or a clean kitchen towel.
- Let rise in a warm spot until doubled in size, approximately 1 to 1.5 hours.
Shape the Rolls
- Grease a 9x13-inch baking pan. Punch down the risen dough and turn it out onto a lightly floured surface.
- Divide the dough into 12 equal pieces (about 65g each if you have a kitchen scale). Roll each piece into a smooth, taut ball by cupping your hand over the dough and rolling in circular motions on the counter.
- Arrange the rolls in the prepared pan in a 3x4 grid, evenly spaced.
Second Rise (or Refrigerate Overnight)
- For same-day baking: Cover the pan loosely with plastic wrap and let the rolls rise until puffy and touching each other, about 45–60 minutes.
- For make-ahead: Cover the pan tightly with plastic wrap and refrigerate for up to 16 hours. When ready to bake, remove from refrigerator and let rise at room temperature for 60–90 minutes until puffed.
Bake and Glaze
- Preheat oven to 375°F (190°C). Whisk together the melted butter and honey for the glaze in a small bowl.
- Brush the tops of the risen rolls gently with half of the honey butter glaze.
- Bake for 18–22 minutes until the tops are deep golden brown. If the tops are browning too quickly, tent loosely with foil during the last 5 minutes.
- As soon as the rolls come out of the oven, brush generously with the remaining honey butter glaze. Sprinkle with flaky sea salt if desired.
- Let cool for 5 minutes, then brush once more with any remaining glaze right before serving. Serve warm.