

The Grill Setup That Changed Everything
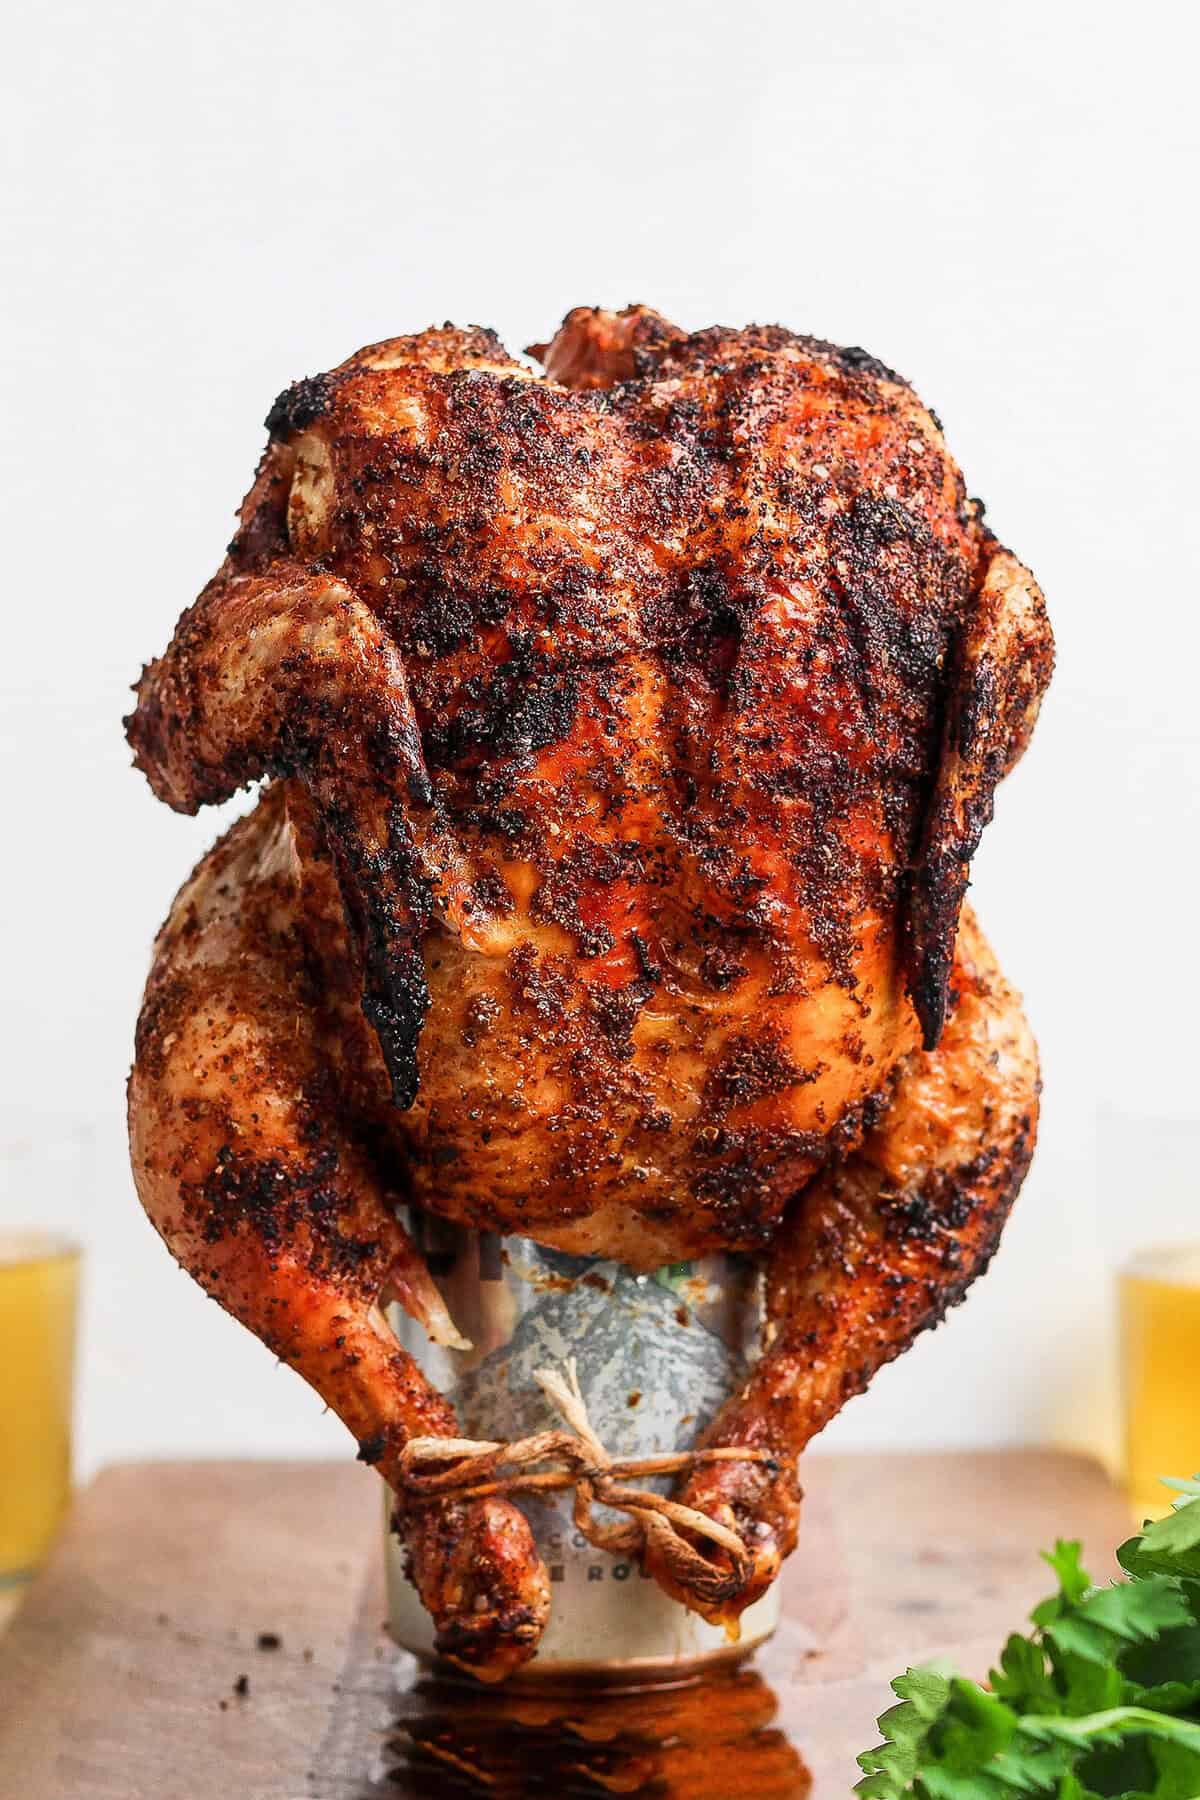
There’s a moment at every backyard cookout when someone walks over to the grill, does a double-take, and says — “Wait, is that chicken… sitting on a beer can?” Yes. Yes it is. And it’s about to be the best thing you eat all summer. Beer Can Chicken is one of those recipes that looks like a gimmick until you take your first bite and realize it’s actually pure genius. The steam from the beer keeps the inside insanely moist while the dry heat of the grill works the outside into a deep, crackled, golden skin that shatters like a dream. It’s dramatic. It’s beautiful. And the flavor? Absolutely unforgettable.
What makes this recipe special isn’t just the novelty of the technique — it’s the combination of a bold dry rub, the right beer, indirect grill heat, and enough patience to let the bird do its thing. Done right, you get a whole chicken that tastes like it came out of a high-end rotisserie. The skin is shatteringly crispy, the breast meat is juicy instead of dry, and the dark meat is fall-off-the-bone tender with a smoky, spiced crust that you’ll be picking at long after dinner is over. This is comfort food and crowd food and “I can’t stop eating this” food, all in one bird.
If you love bold, fire-kissed grilled meats the way we do here at Desire Recipes, this one belongs in your permanent rotation. Whether you’re firing up the grill for a summer weekend, a tailgate, or just because it’s Tuesday and you deserve something spectacular, Beer Can Chicken delivers every single time. Let’s get into it.
Why You’ll Love This Recipe
- Shatteringly crispy skin — The dry rub and indirect heat create a crust that’s deeply golden and crackling with flavor.
- Unbelievably juicy meat — Steam from the beer bastes the interior the entire cook, keeping every bite moist, tender, and rich.
- Bold, smoky spice rub — Smoked paprika, garlic, cayenne, and brown sugar come together in a rub that forms an incredible bark on the outside.
- Practically hands-off cooking — Once that bird is on the grill, you let the heat do the work. No flipping, no basting, no stress.
- Showstopper presentation — A whole chicken standing upright on a beer can is the kind of thing people photograph and talk about for years.
- Scales easily — Got a crowd? Make two. The technique works just as well with multiple birds on the grill at once.
Key Ingredients
Every ingredient in this recipe earns its place, starting with the star: a whole chicken, ideally around 3.5 to 4.5 pounds. That size is perfect for grilling — big enough to stay juicy over indirect heat, small enough to cook through in a reasonable time without drying out the breast meat. Pat it completely dry before seasoning. Moisture is the enemy of crispy skin, and a thoroughly dried bird is the first step toward that shattering golden crust.
The dry rub is where the flavor starts. Smoked paprika is the backbone here — it brings a deep, woodsy sweetness that layers beautifully with the char from the grill. Brown sugar helps the rub caramelize against the heat, forming a sticky, mahogany-colored bark on the outside that tastes like it came from a barbecue joint. Garlic powder, onion powder, and cayenne round out the rub with savory depth and just enough heat to wake up your palate without overwhelming the chicken’s natural richness. Don’t be shy — rub it everywhere, including under the skin over the breast meat, for maximum penetration.
The beer is more than just a visual gag. As it heats inside the cavity of the chicken, it creates a gentle steam that permeates the interior, helping maintain moisture in the breast and keeping the dark meat succulent. Use a lager or amber ale — something with a little malt character but nothing too bitter or hoppy, which can turn astringent under heat. Pour out (or drink) about half the can before using it, which prevents the beer from boiling over and helps it steam more efficiently throughout the cook.
Finally, a generous rub of olive oil or softened butter over the outside of the bird is what helps the rub stick and sets the stage for that crispy, glistening skin. Butter especially adds richness and helps the skin brown more evenly — if you want to go full indulgent, this is the move. A few garlic cloves and fresh thyme tucked into the neck cavity also add a subtle aromatic undertone that perfumes the meat from the inside out.
Pro Tips & Variations
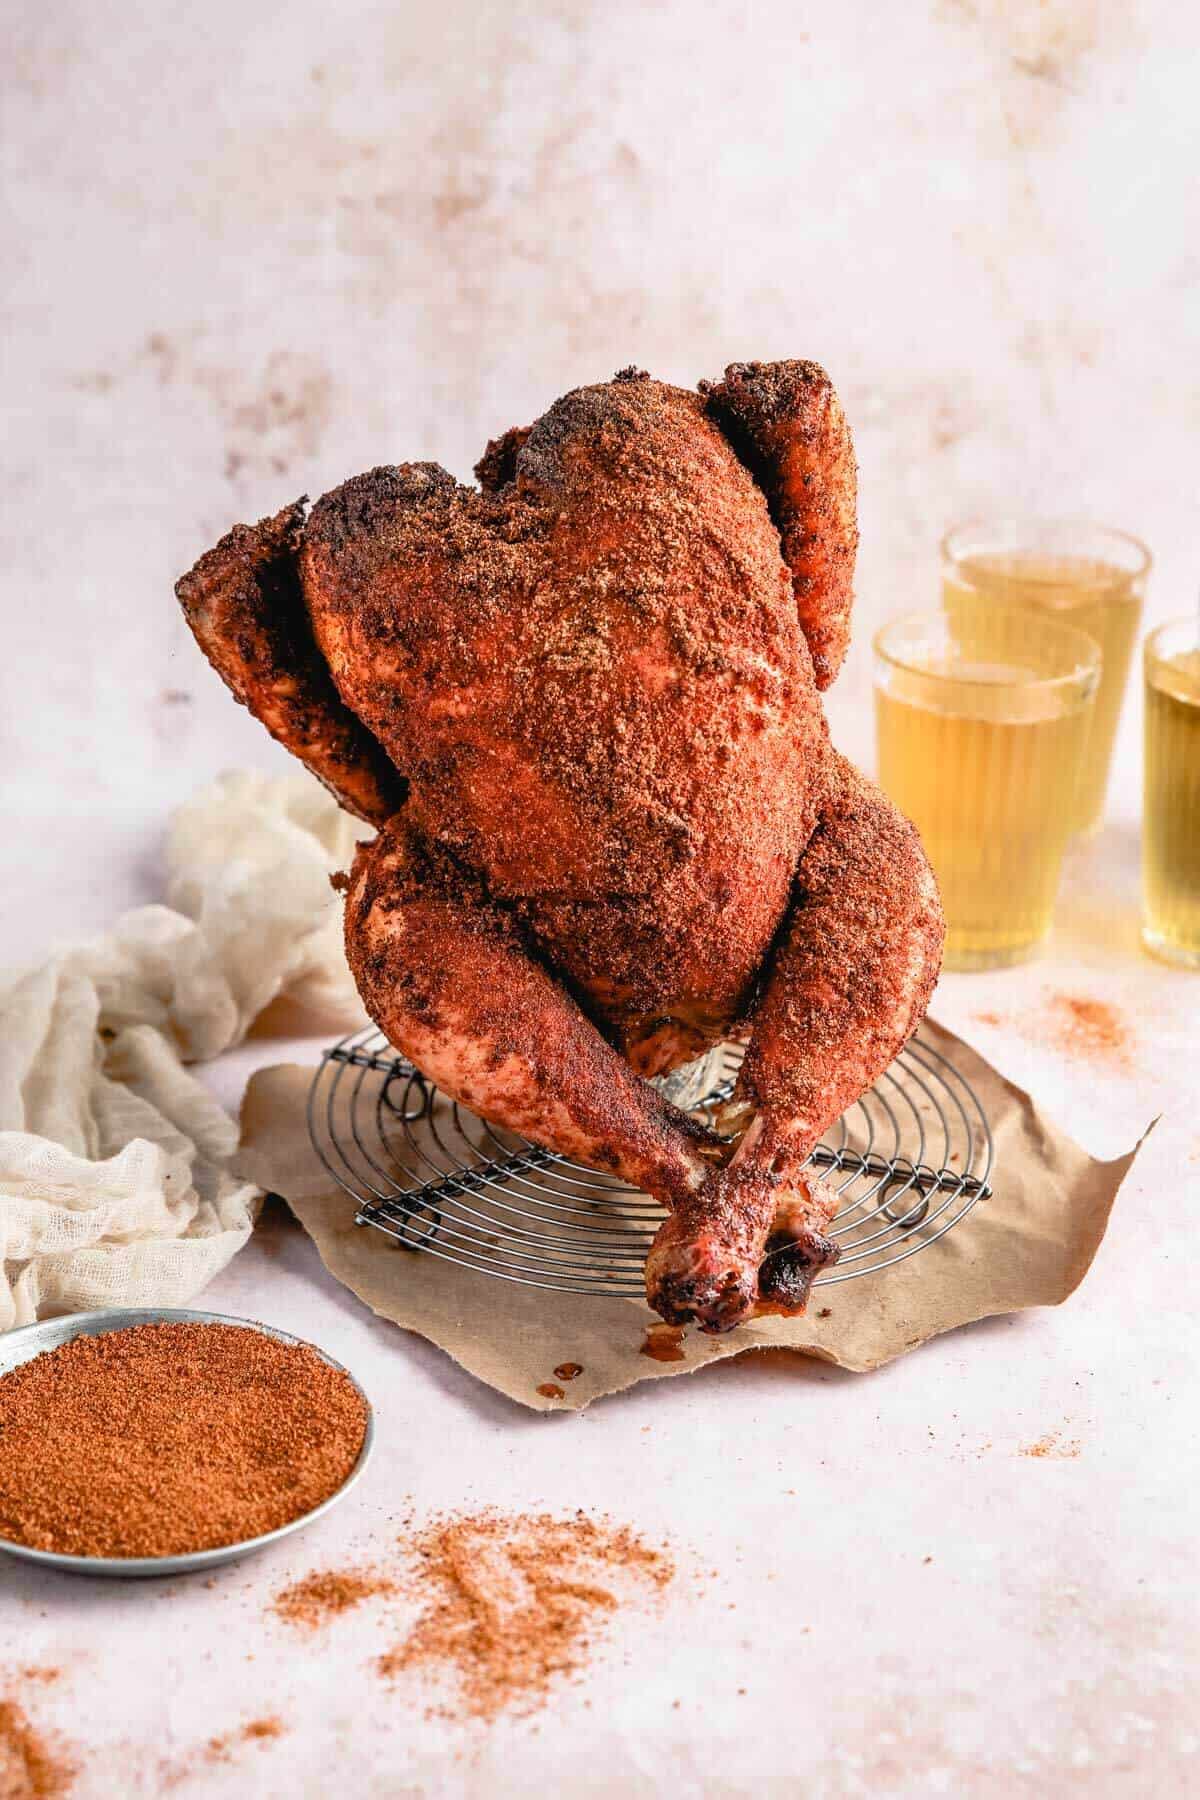
Tip 1: Dry-brine overnight for next-level skin. If you have the time, season the chicken with salt and leave it uncovered in the fridge overnight. This dry-brine draws out surface moisture, which then gets reabsorbed back into the meat along with the salt — you get a chicken that’s seasoned deeper into the flesh and dries out perfectly for crisping. When you’re ready to grill, just add the rest of your rub and go.
Tip 2: Use a two-zone fire. This is the most critical technique in the whole recipe. Setting up a two-zone grill — with coals or burners on one side and nothing on the other — lets you cook the chicken with indirect heat. You want 350°F to 375°F inside the grill, with the chicken sitting over the cool side. This prevents the skin from charring before the inside is done and gives you an even, deep bronze color all over.
Tip 3: Add wood chips for smokiness. Toss a handful of soaked wood chips — applewood, cherry, or hickory — directly on the coals or into a smoker box for gas grills. That extra smoke layer adds another dimension of complexity to the rub and skin that makes this feel truly barbecue-level.
Tip 4: Don’t skip the rest. After pulling the chicken off the grill, let it rest for at least 10 to 15 minutes before carving. This allows the juices to redistribute throughout the meat so they don’t pour out the moment you cut into it. Rest it still on the beer can — it’ll hold its heat well.
Tip 5: Customize your rub. Love Cajun flavor? Add some dried oregano and white pepper to the rub. Want something sweeter and more Tennessee BBQ? Increase the brown sugar and add a pinch of cinnamon. The base formula is endlessly adaptable. If you love bold grilled flavors and want to explore more, our Grilled Pork Tenderloin uses a similar spice-forward approach that pairs perfectly with this chicken at a big cookout spread.
Variation: Try it with a whole spatchcocked chicken. Not everyone has a grill setup tall enough to fit an upright bird. If that’s you, spatchcock (butterfly) the chicken instead and use the same dry rub — you’ll still get incredible crispy skin and juicy meat, just in a flatter format. The technique is different but the flavor profile stays the same.
Variation: Beer-free version. Swap the beer can for a can of chicken broth, lemon-lime soda, or even just a can filled with water, garlic, and fresh herbs. The steam is the mechanism — the beer adds mild flavor but the technique works with almost any liquid.
If you want more reasons to fire up the grill this weekend, check out our Grilled Lamb Chops with Garlic, Herb & Rosemary — they’re just as bold and just as impressive, making them a stunning companion dish for an all-out grill feast. And if you’re planning a full summer spread, our Grilled Chicken Skewers with Tzatziki are another crowd-pleaser that works beautifully alongside Beer Can Chicken for parties where you need variety.
Nutritional Highlights
Beer Can Chicken is one of those rare comfort-food showstoppers that actually holds up nutritionally. Chicken is a lean, high-protein meat, and a serving of this recipe delivers around 40 grams of protein to support muscle repair and keep you feeling full. The skin, while indulgent and absolutely worth it, adds healthy fats when you’re working with a quality bird. The dry rub contains minimal sugar and no fillers — just real spices with anti-inflammatory properties like smoked paprika and garlic. Because this is grilled over indirect heat rather than deep-fried or cooked in heavy sauce, you’re getting all the flavor with none of the guilt of heavier preparations. Grilling whole chickens is also one of the most efficient ways to cook — you get multiple servings out of a single bird with minimal active effort, making it a smart, satisfying choice for feeding a family.
Frequently Asked Questions
What kind of beer works best for Beer Can Chicken?
A lager, pale ale, or amber ale is the sweet spot. You want something with a mild, slightly malty flavor that won’t turn bitter or harsh when it heats up inside the cavity. Avoid very hoppy IPAs — the hops can become astringent under high heat and leave a slightly unpleasant bitterness in the steam. Domestic lagers like a Budweiser or Coors work great for a neutral, clean steam. If you want to add a little something extra, go with a craft amber or even a smoky porter for a subtle malty undertone in the meat.
How do I know when Beer Can Chicken is done?
The only reliable way to know is with an instant-read thermometer. Insert it into the thickest part of the thigh (avoiding the bone) — you’re looking for 165°F minimum, though pulling it at 160°F and letting it rest will carry it the rest of the way safely. The breast should also read 160°F to 165°F. Visual cues like golden-brown skin and clear juices running from the thigh are good secondary signs, but don’t rely on them alone. The total cook time on a 350°F to 375°F grill is typically 60 to 90 minutes depending on the size of the bird, so plan accordingly.
Can I make Beer Can Chicken in the oven?
Absolutely — and it works beautifully. Preheat your oven to 375°F and place the chicken (still on the beer can) in a roasting pan or on a rimmed baking sheet to catch drips. Roast for 60 to 80 minutes until the thigh reads 165°F internally and the skin is deeply golden and crispy. You won’t get the smoke from the grill, but if you add a little smoked paprika and liquid smoke to the rub, you can get surprisingly close to that outdoor flavor. The steam-from-beer technique works just as effectively in the oven.
Fire Up the Grill and Make This Happen
Beer Can Chicken is the kind of recipe that earns you a reputation. The kind people request at every gathering, text you about the next morning, and declare their favorite thing you’ve ever made. It’s bold, it’s beautiful, it’s ridiculously flavorful — and once you understand the technique, you’ll realize it’s also one of the most low-effort, high-reward things you can cook all year. Crispy skin. Juicy, smoky meat. A crust that crackles with spice. What more could you possibly want from a grill?
If this recipe found its way to your table this weekend, we want to hear about it. Leave a comment below, share your photos on Instagram and tag us, or save this recipe to Pinterest so you never lose track of it. Cooking is better when it’s shared — and this one is absolutely worth sharing.
Find the complete recipe card below ↓
Beer Can Chicken
Equipment
- Charcoal or gas grill
- Instant-read meat thermometer
- Small mixing bowl
- Tongs
- Rimmed baking sheet or roasting pan
- Church key can opener (optional)
- Basting brush
Ingredients
The Chicken
- 1 whole chicken 3.5 to 4.5 lbs, giblets removed, patted completely dry
- 2 tbsp olive oil or softened butter for coating the outside
- 1 can lager or amber ale 12 oz, half poured out or consumed before use
Dry Rub
- 2 tsp smoked paprika
- 1.5 tsp kosher salt
- 1 tsp garlic powder
- 1 tsp onion powder
- 1 tsp brown sugar packed
- 0.5 tsp black pepper freshly ground
- 0.5 tsp cayenne pepper adjust to heat preference
- 0.5 tsp dried thyme
- 0.5 tsp dried oregano
Optional Aromatics
- 3 cloves garlic smashed, to stuff into neck cavity
- 3 sprigs fresh thyme to stuff into neck cavity
- 1 lemon halved, for serving
Instructions
Prep the Chicken & Rub
- Remove the chicken from the fridge 30 minutes before cooking to take the chill off. Pat it completely dry inside and out with paper towels — this is essential for crispy skin.
- In a small bowl, combine smoked paprika, kosher salt, garlic powder, onion powder, brown sugar, black pepper, cayenne, dried thyme, and dried oregano. Mix well.
- Rub the chicken all over with olive oil or softened butter, coating every surface generously.
- Apply the dry rub all over the outside of the chicken, pressing it in firmly. Lift the skin over the breast and rub some spice mix directly onto the meat underneath. Stuff the neck cavity with smashed garlic and fresh thyme sprigs if using.
Set Up the Grill
- Set up your grill for two-zone indirect cooking. For charcoal: push coals to one side. For gas: turn on burners on one side only. Target grill temperature is 350°F to 375°F.
- If using wood chips for smoke, soak them in water for 30 minutes, then drain and add them directly to the coals or into a smoker box for a gas grill.
Prepare the Beer Can & Mount the Chicken
- Open the beer can and drink or pour out approximately half of it. If desired, poke 2 to 3 extra holes in the top of the can with a church key opener to allow more steam to escape.
- Place the beer can on a stable, flat surface. Carefully lower the chicken cavity-down over the beer can so the can is fully inserted and the chicken sits upright, with its legs acting as a tripod for stability.
Grill the Chicken
- Carefully transfer the chicken-on-can to the cool side of the grill (indirect heat zone). Position it so it stands upright and stable. Close the grill lid.
- Grill over indirect heat with the lid closed, maintaining 350°F to 375°F, for 60 to 90 minutes. Do not open the lid frequently — keep the heat consistent.
- Begin checking for doneness at the 60-minute mark. Insert an instant-read thermometer into the thickest part of the thigh (not touching bone) — the chicken is done when it reads 165°F. The breast should also reach 160°F to 165°F.
- If the skin is browning too quickly before the internal temp is reached, tent loosely with a piece of foil.
Rest & Serve
- Using tongs and a spatula, carefully remove the chicken-and-can from the grill and transfer to a rimmed baking sheet or cutting board. Let the chicken rest upright on the can for 10 to 15 minutes — do not remove the can yet, it helps the chicken hold its shape and retain heat.
- After resting, carefully lift the chicken off the beer can (use tongs or a towel — the can will be extremely hot). Discard the used beer can.
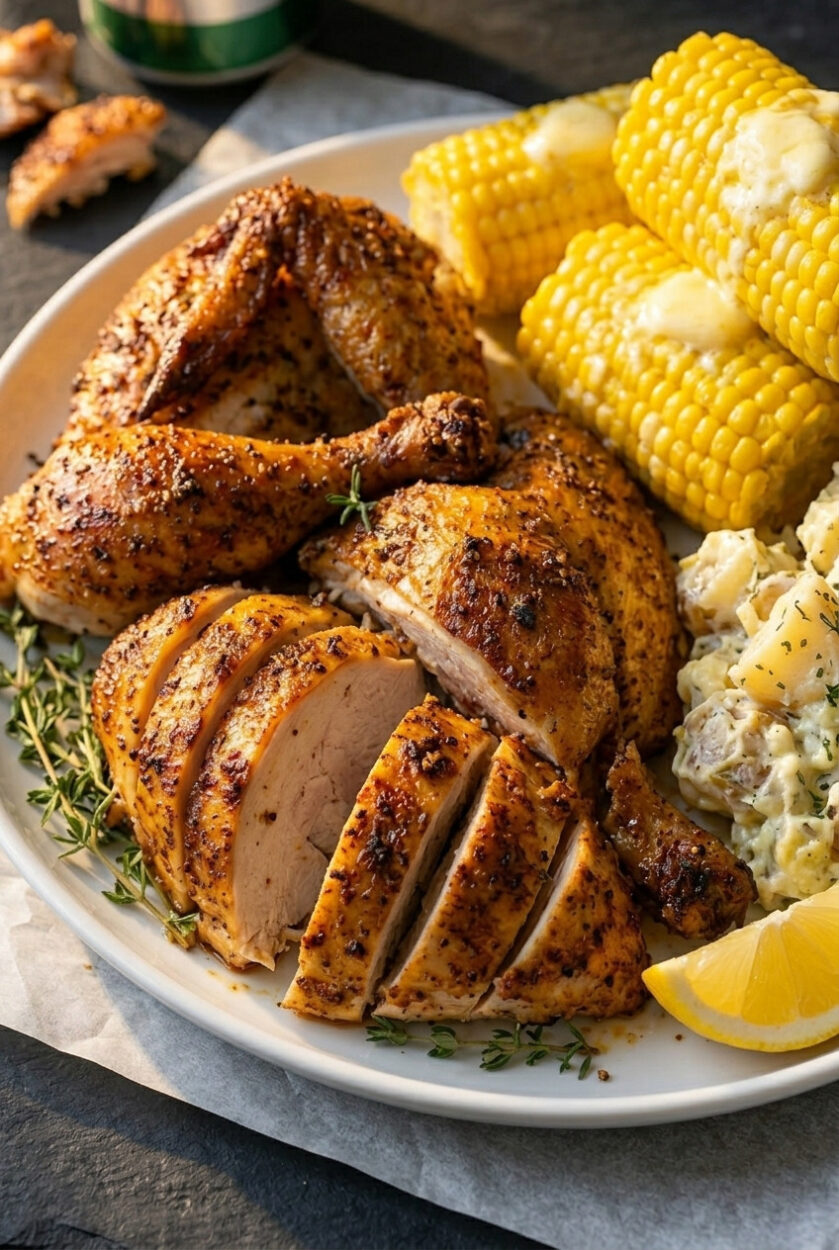
- Carve the chicken and serve immediately with lemon halves, your favorite sides, and extra napkins. Enjoy!